BLOG

Wednesday, December 31, 2014

Building The La Forge Royale Miter Jack- Part 2


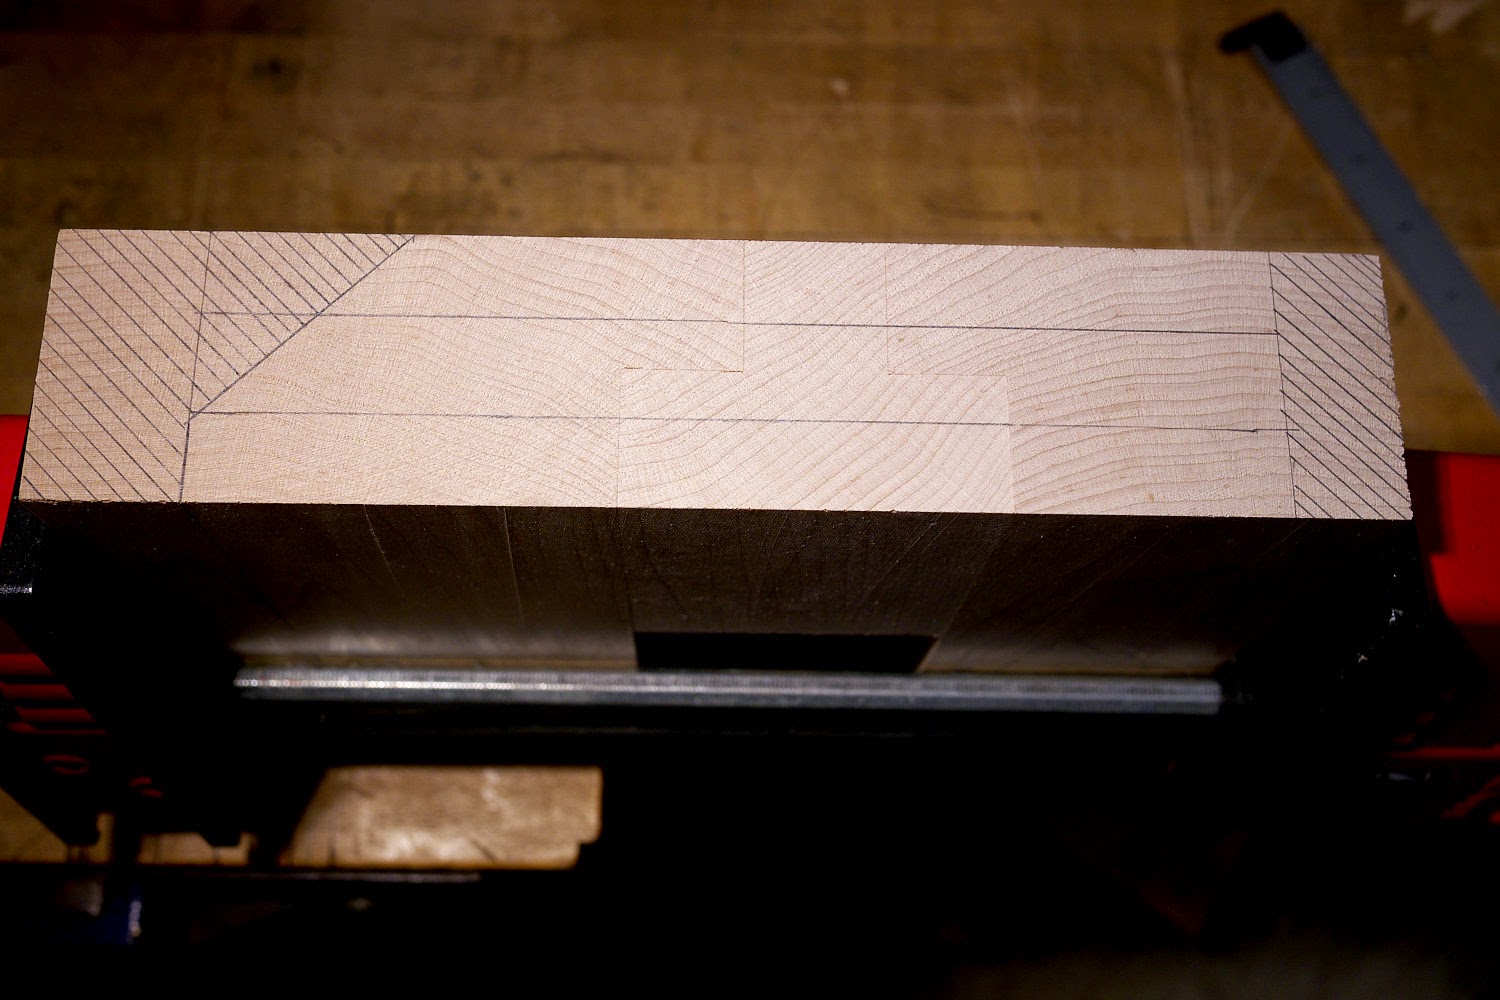
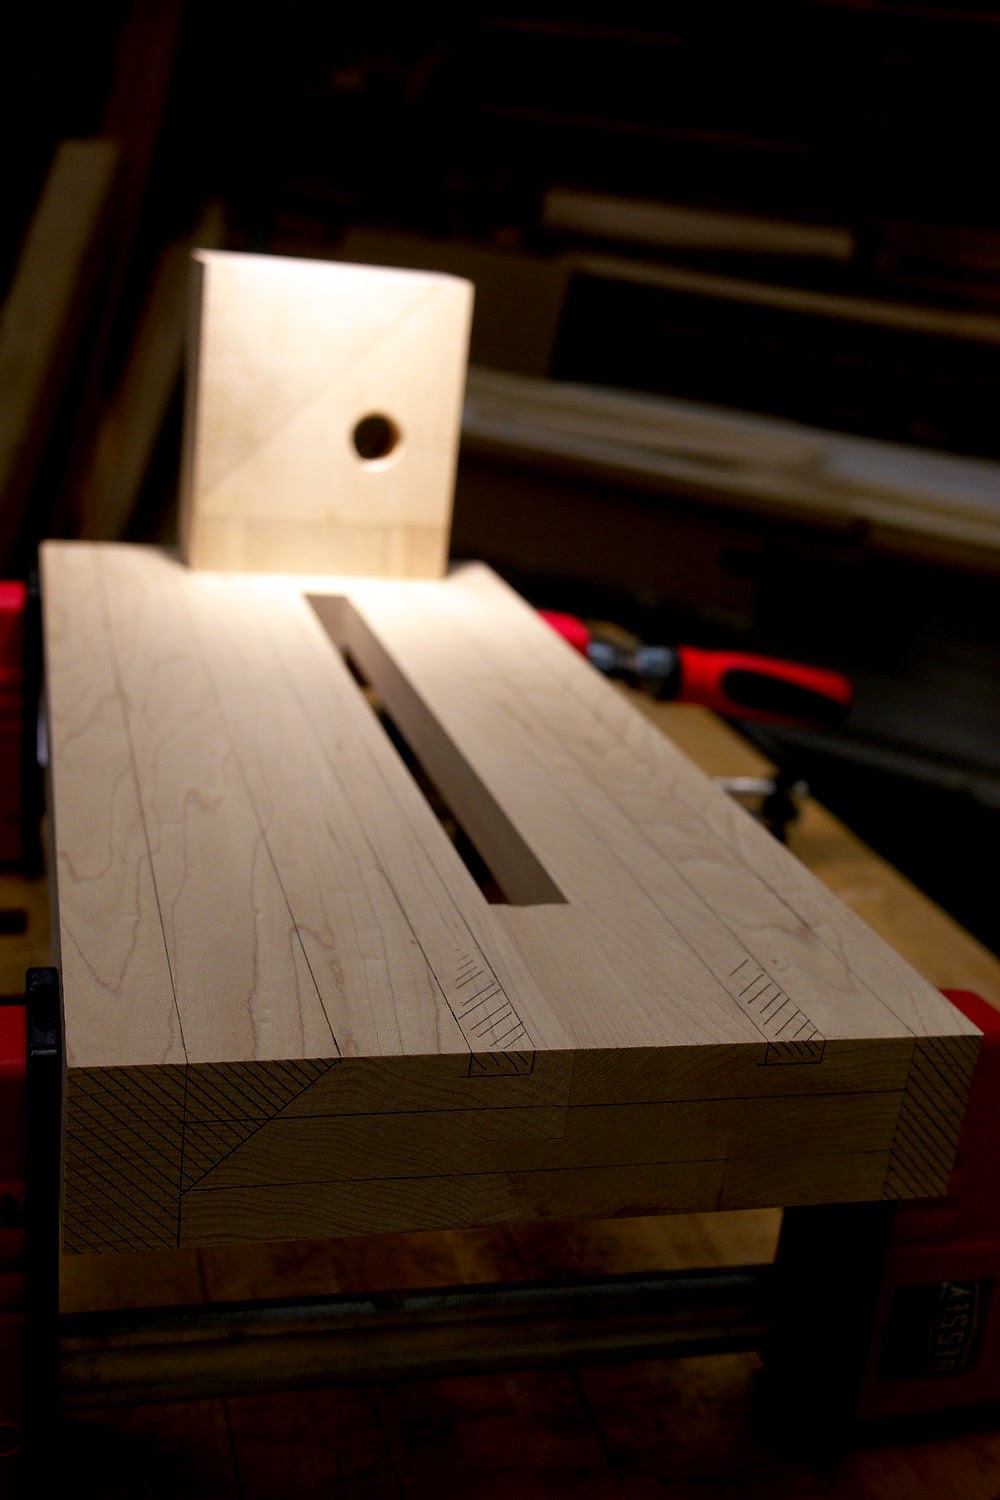
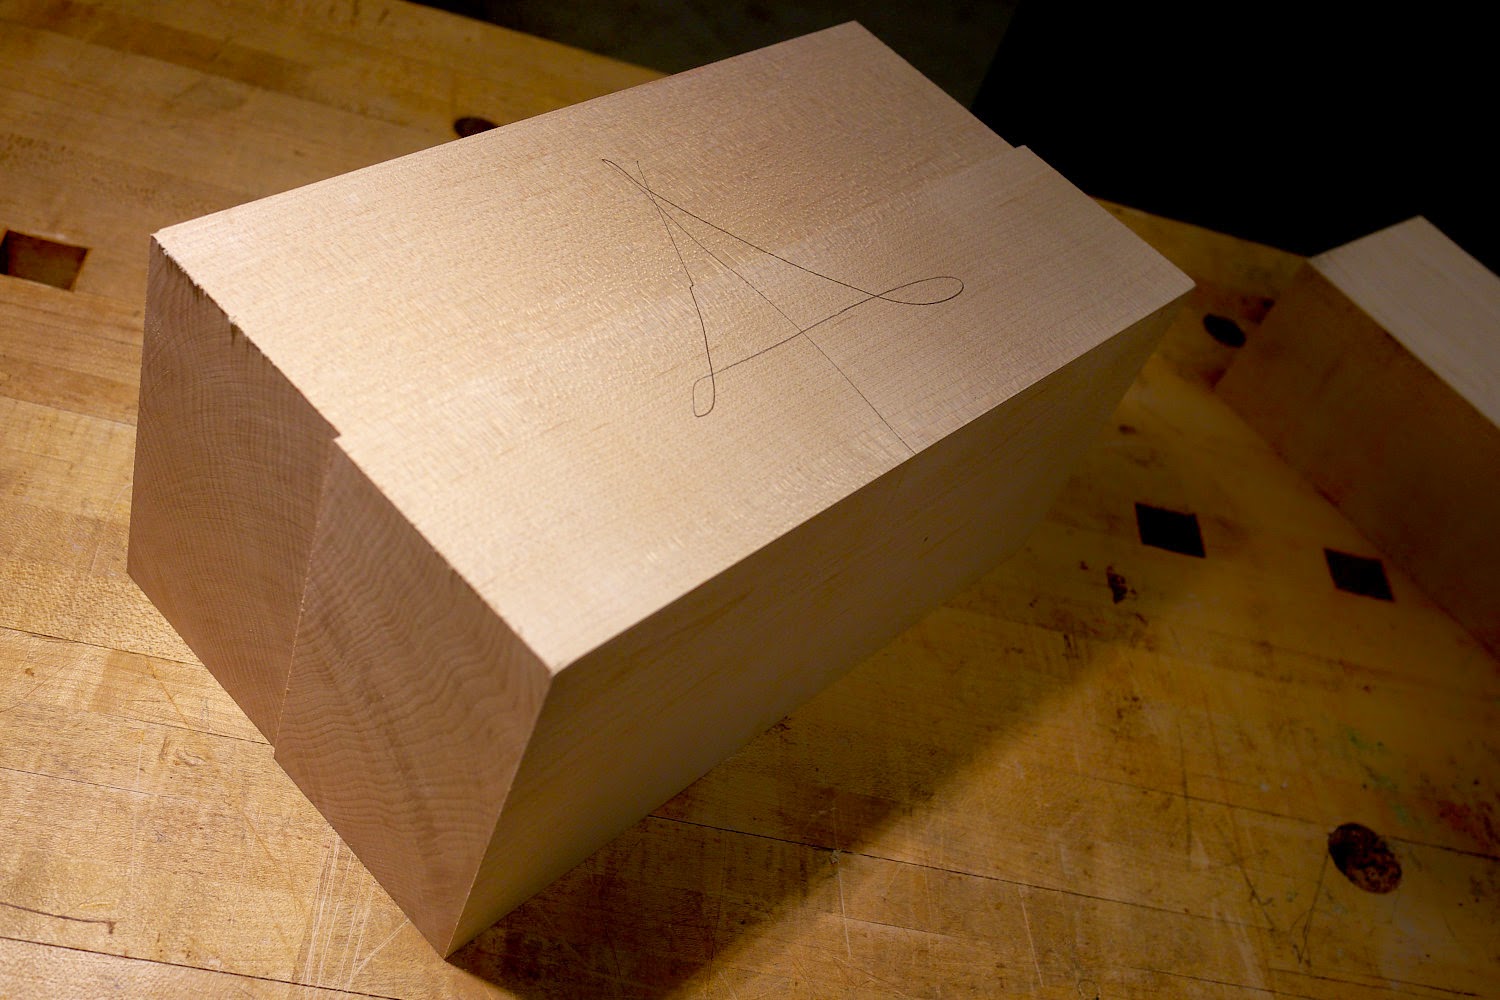
This morning I cut the assembled body to final length and laid out the final width as well as the main 45 degree chamfer. I won't cut the waste sections off until later.


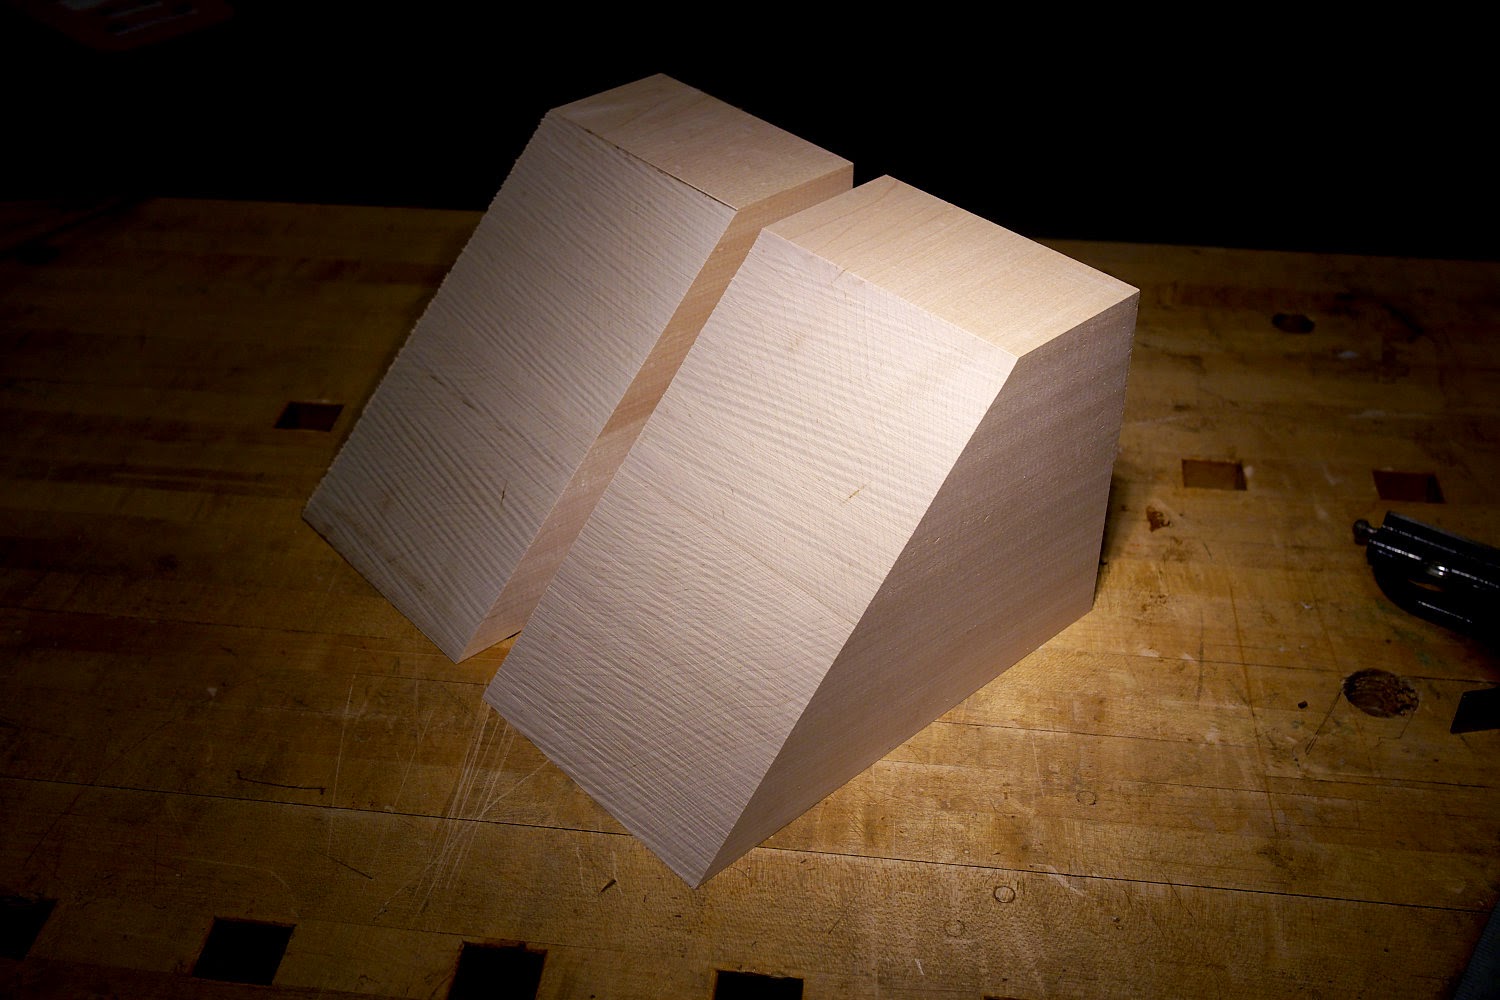
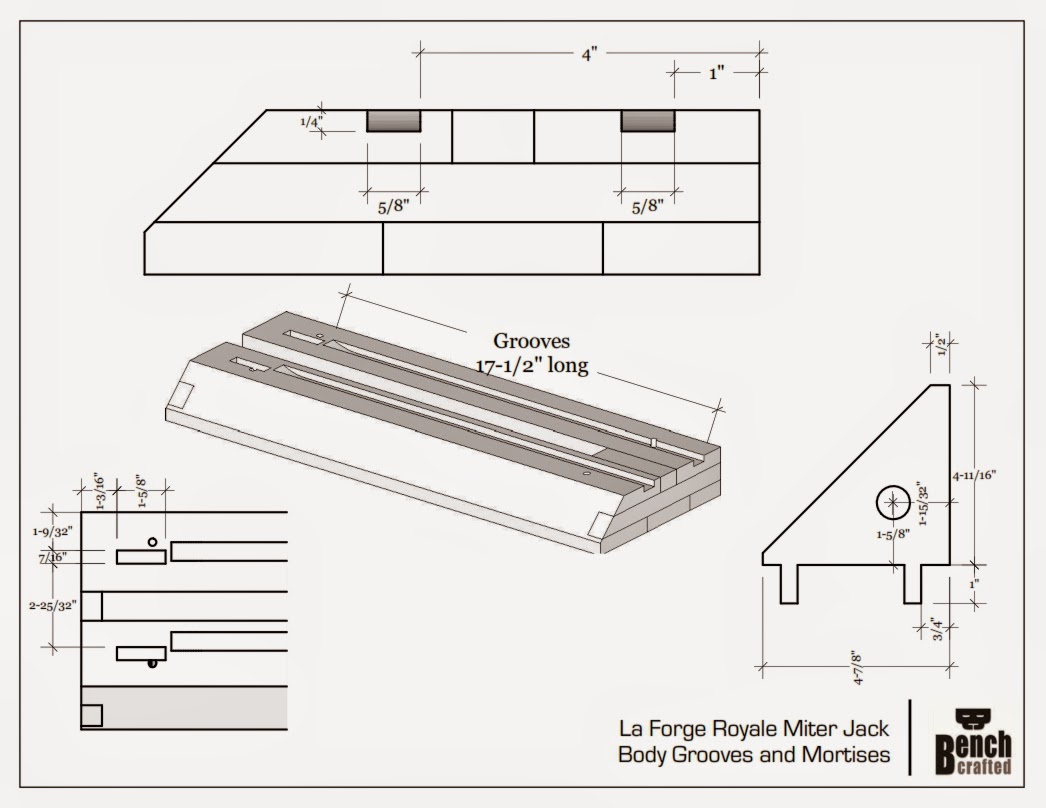
I took the jaw blank out of the clamps and four squared it. I milled it to 4-13/16" wide (the width of the wider, fixed jaw) by 5-9/16" tall. Don't confuse the nut block in the drawing above for the jaws. I didn't include the jaws in this drawing. I then sawed the blank in half at 45 degrees on the band saw. Each jaw is overlength by an inch or so. I'll cut them to final size after all the joinery is done and the vise is working smoothly.


To install the garter you'll need to make a small drilling block. But first you'll need to find the location of the groove pin which holds the ferrule and garter pin in place.

The garter must be somewhat loose on the garter pin so the screw is free to turn easily. To achieve that loose fit, we need to position the groove pin in the right place.


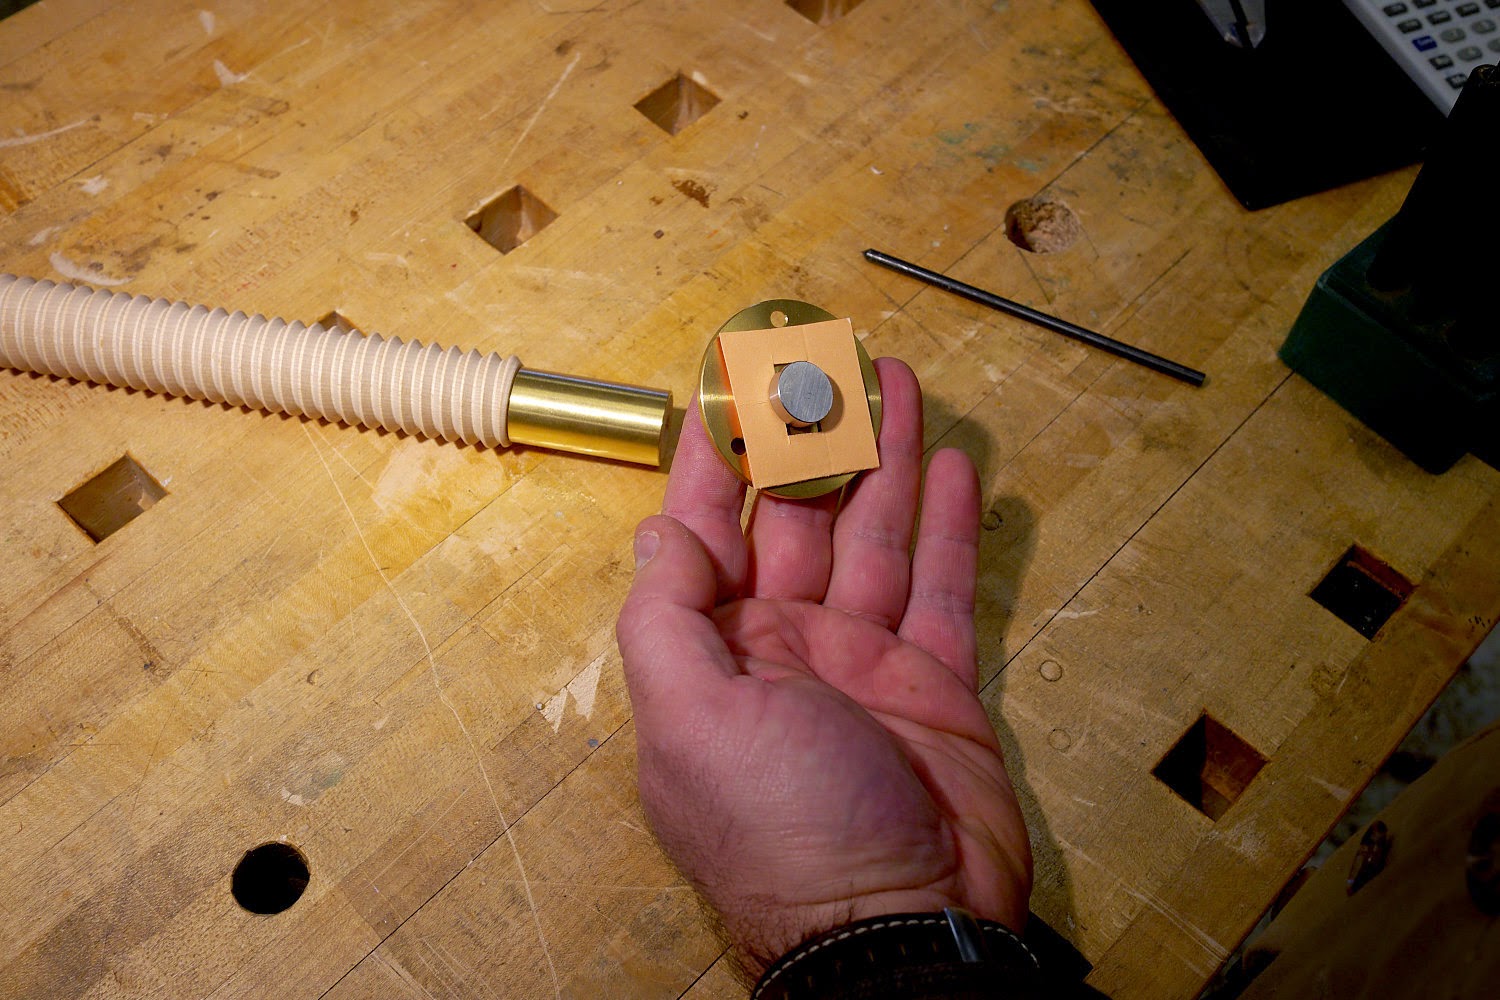
Cut a shim that's about 20 thousands thick. I made mine from a double layer of paper cut from a file folder. Place this shim between the garter and the garter pin.


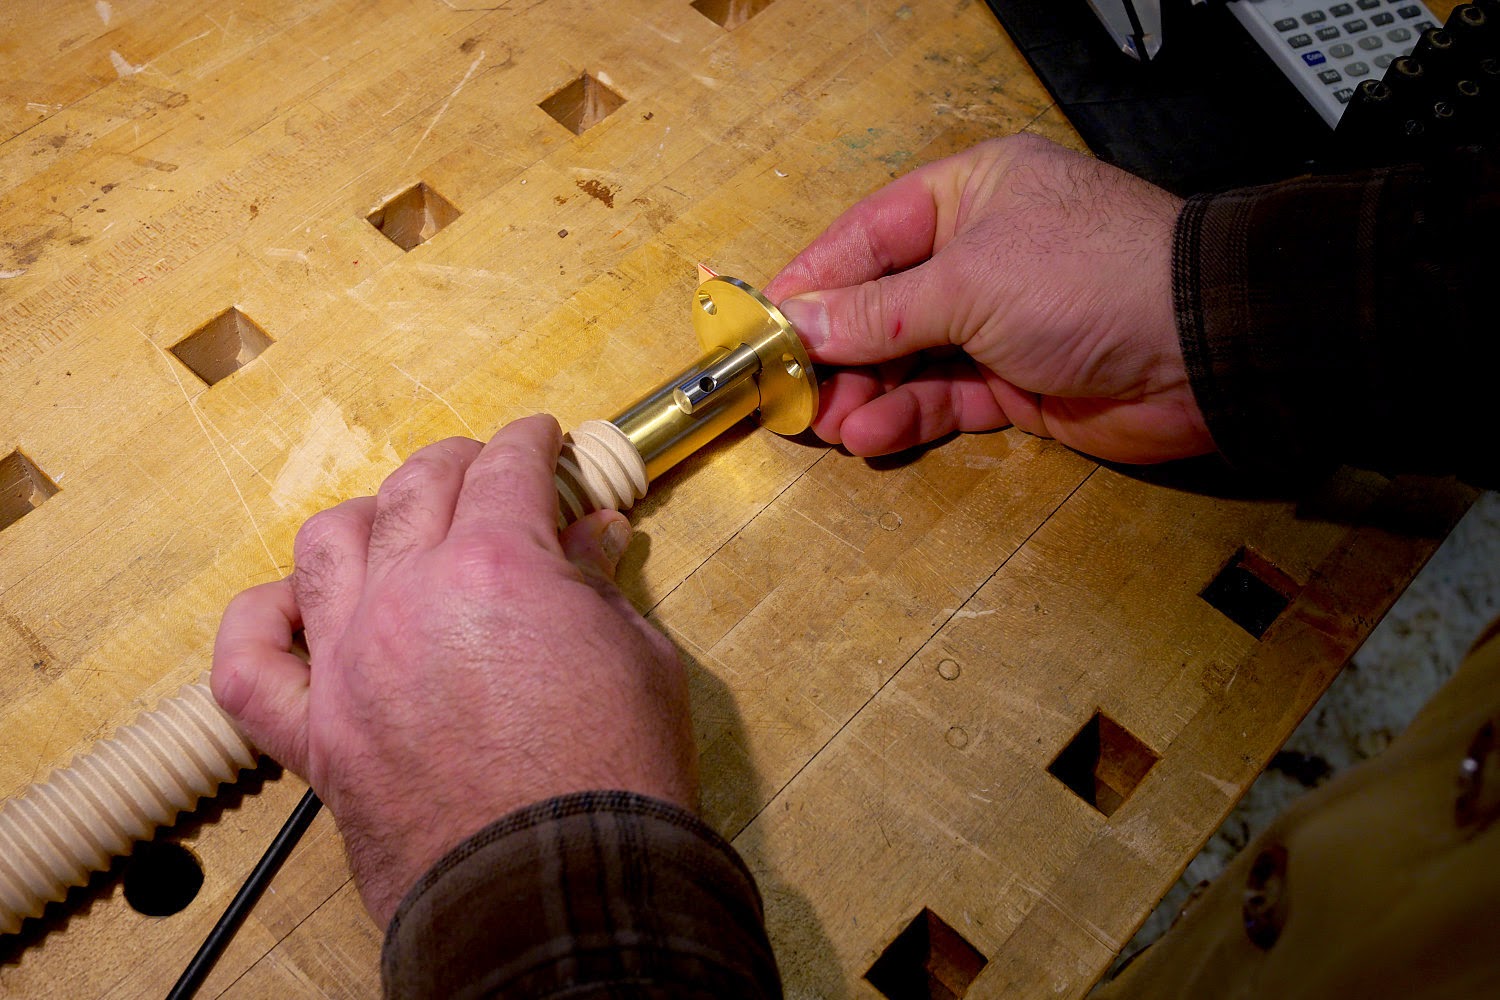
With the ferrule on the screw's tenon, press the garter and garter pin flat to the end of the screw.


Using a transfer punch (or a 3/16" bradpoint bit) insert it into the hole in the garter pin and mark the brass ferrule. Don't tap it with a hammer, just press by hand. The soft brass will mark easily.


 Remove the garter pin and set a marking gauge so the scribe touches the mark you made.


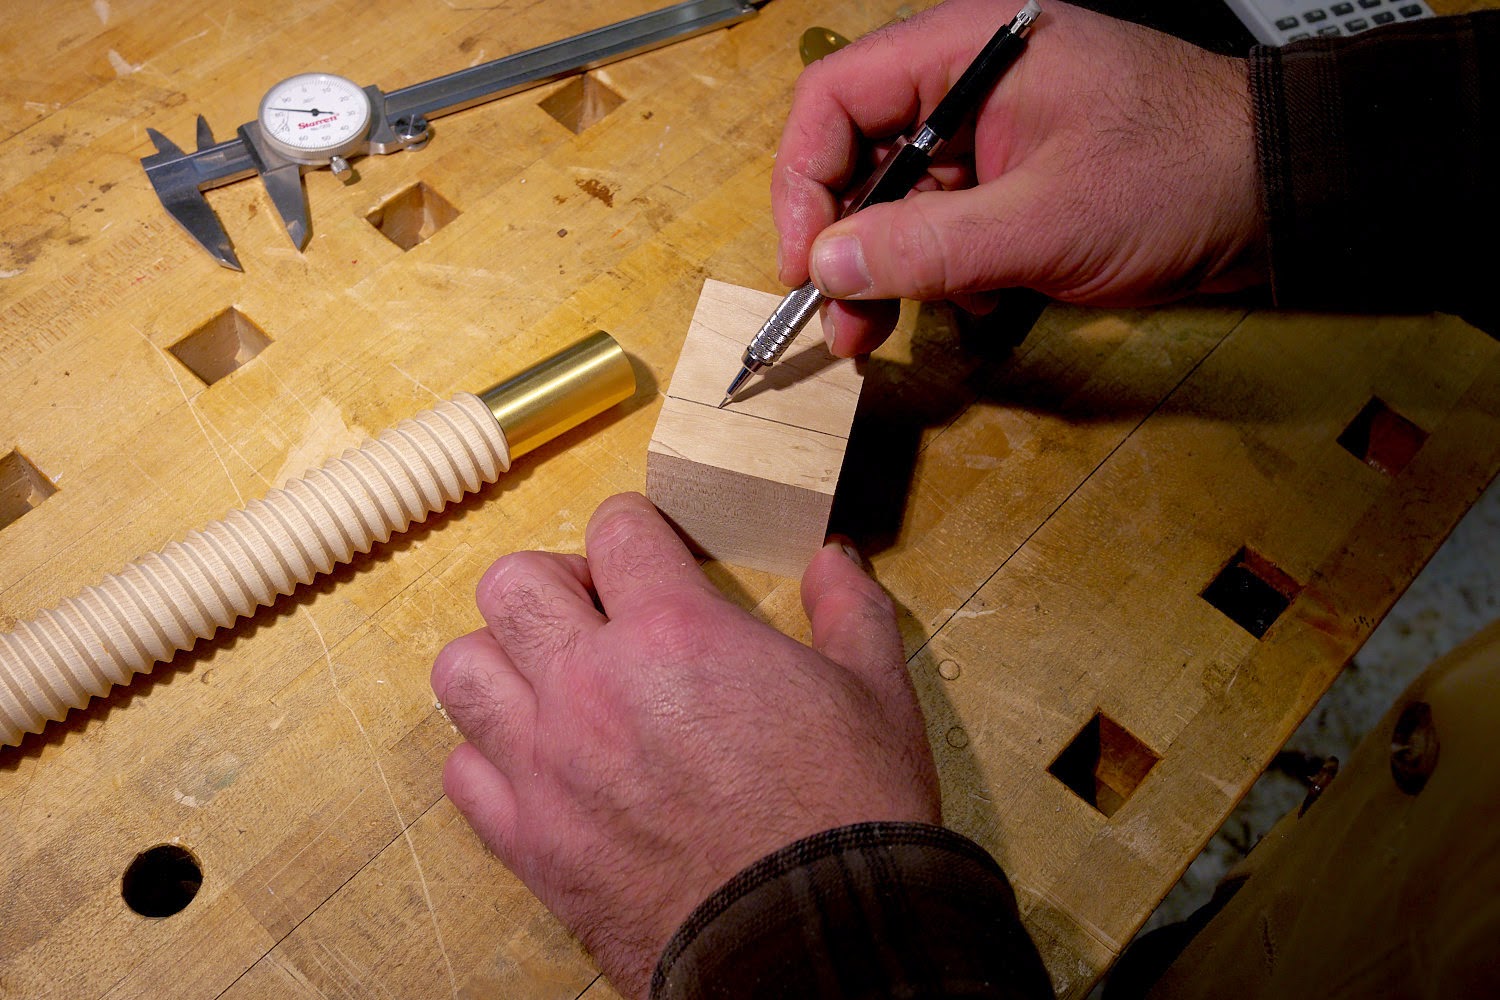
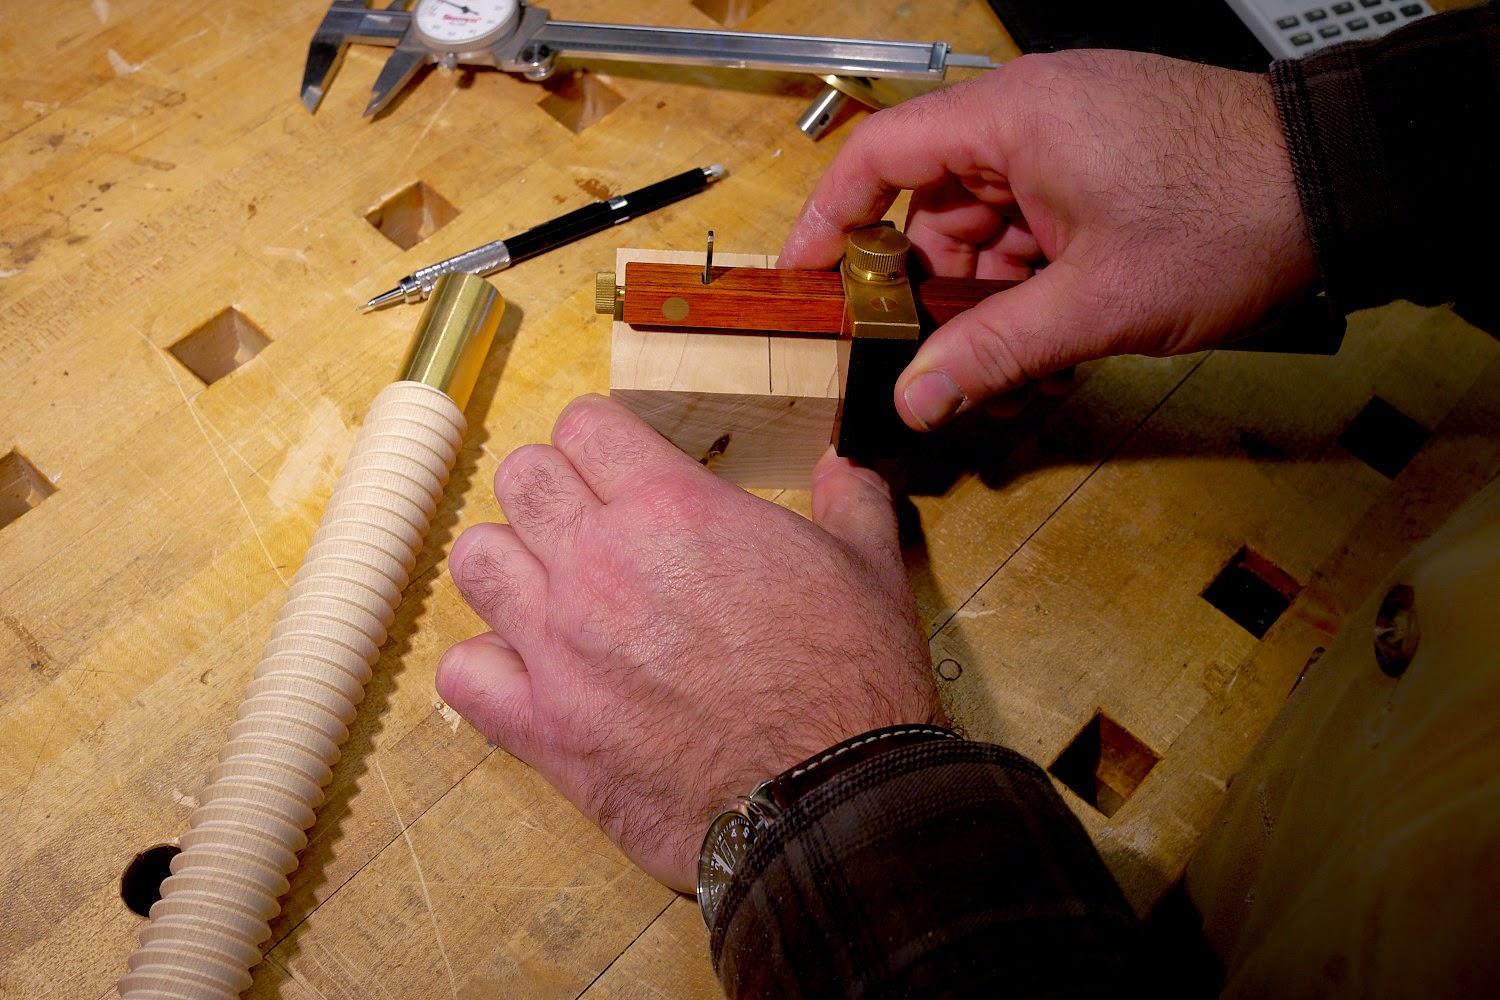
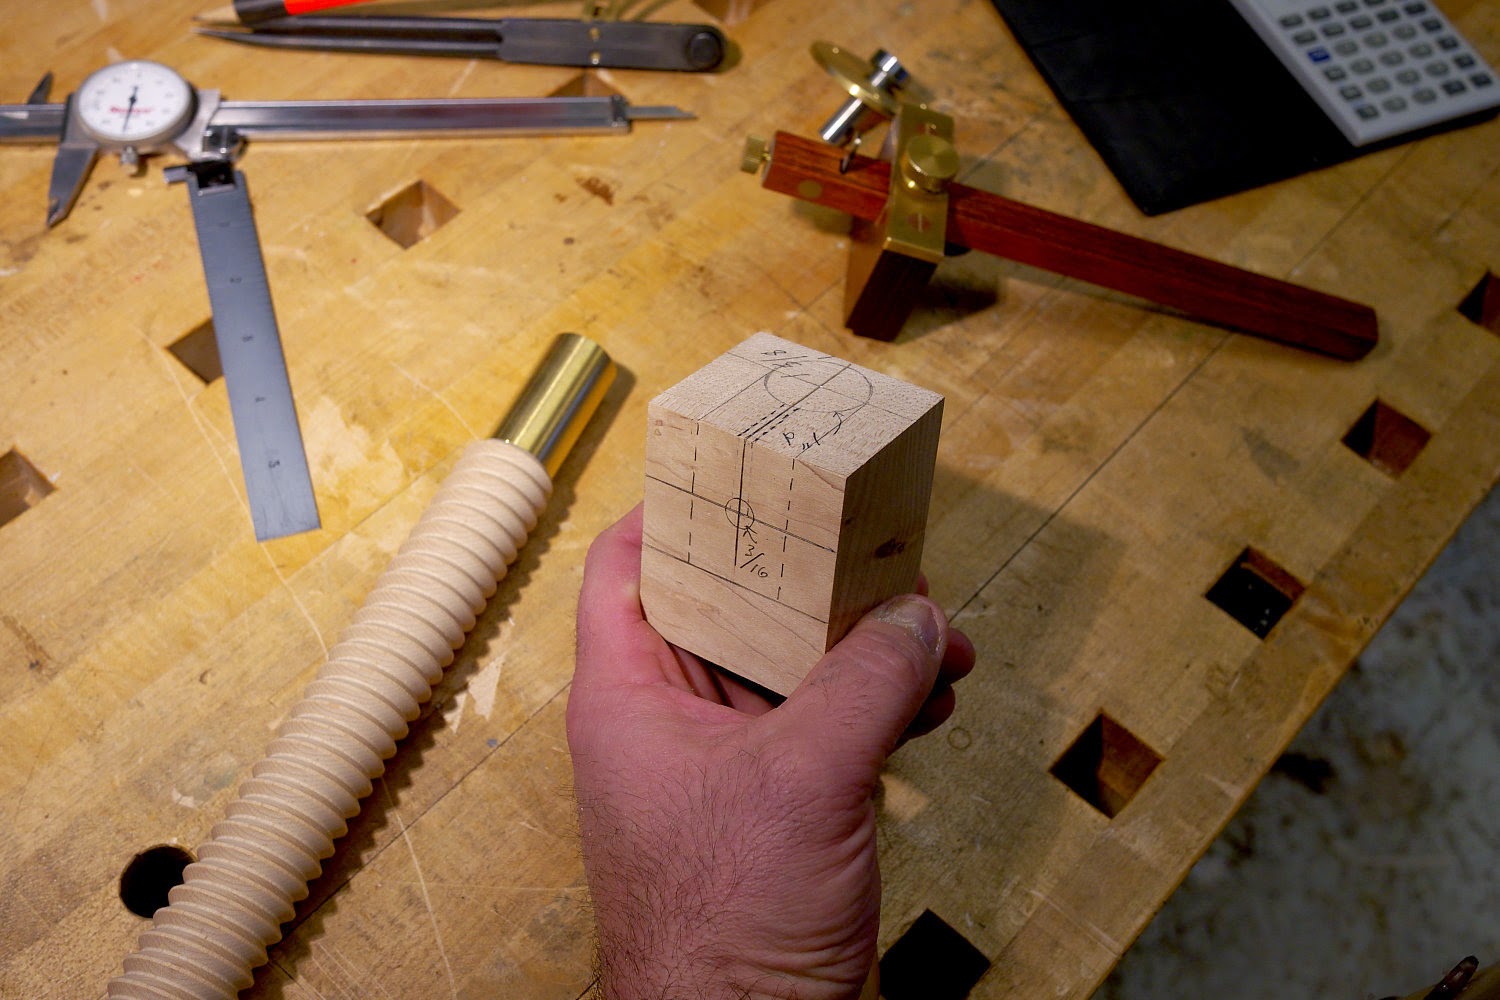
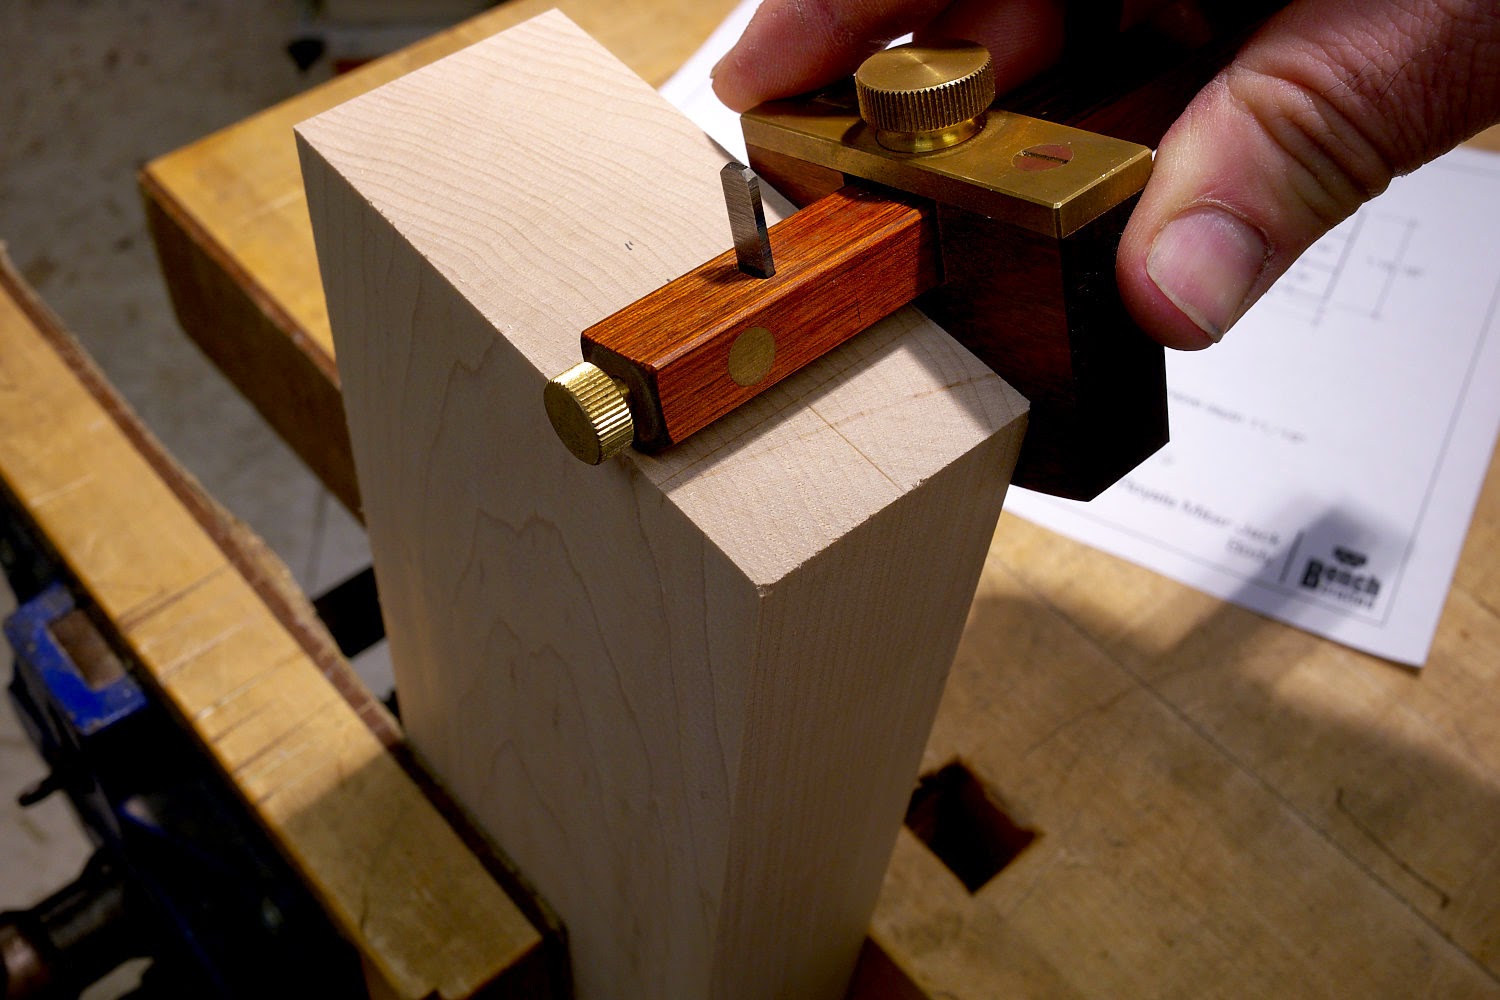
Get a scrap of wood that's true. The size is not important. Just make sure its about 1/2" wider than the length of the screw's tenon. Using the marking gauge, scribe a line across the top of the block. I'm pinching the end grain here with my left hand. I'm darkening the scribe line with a pencil. This is the location of the 3/16" cross hole.


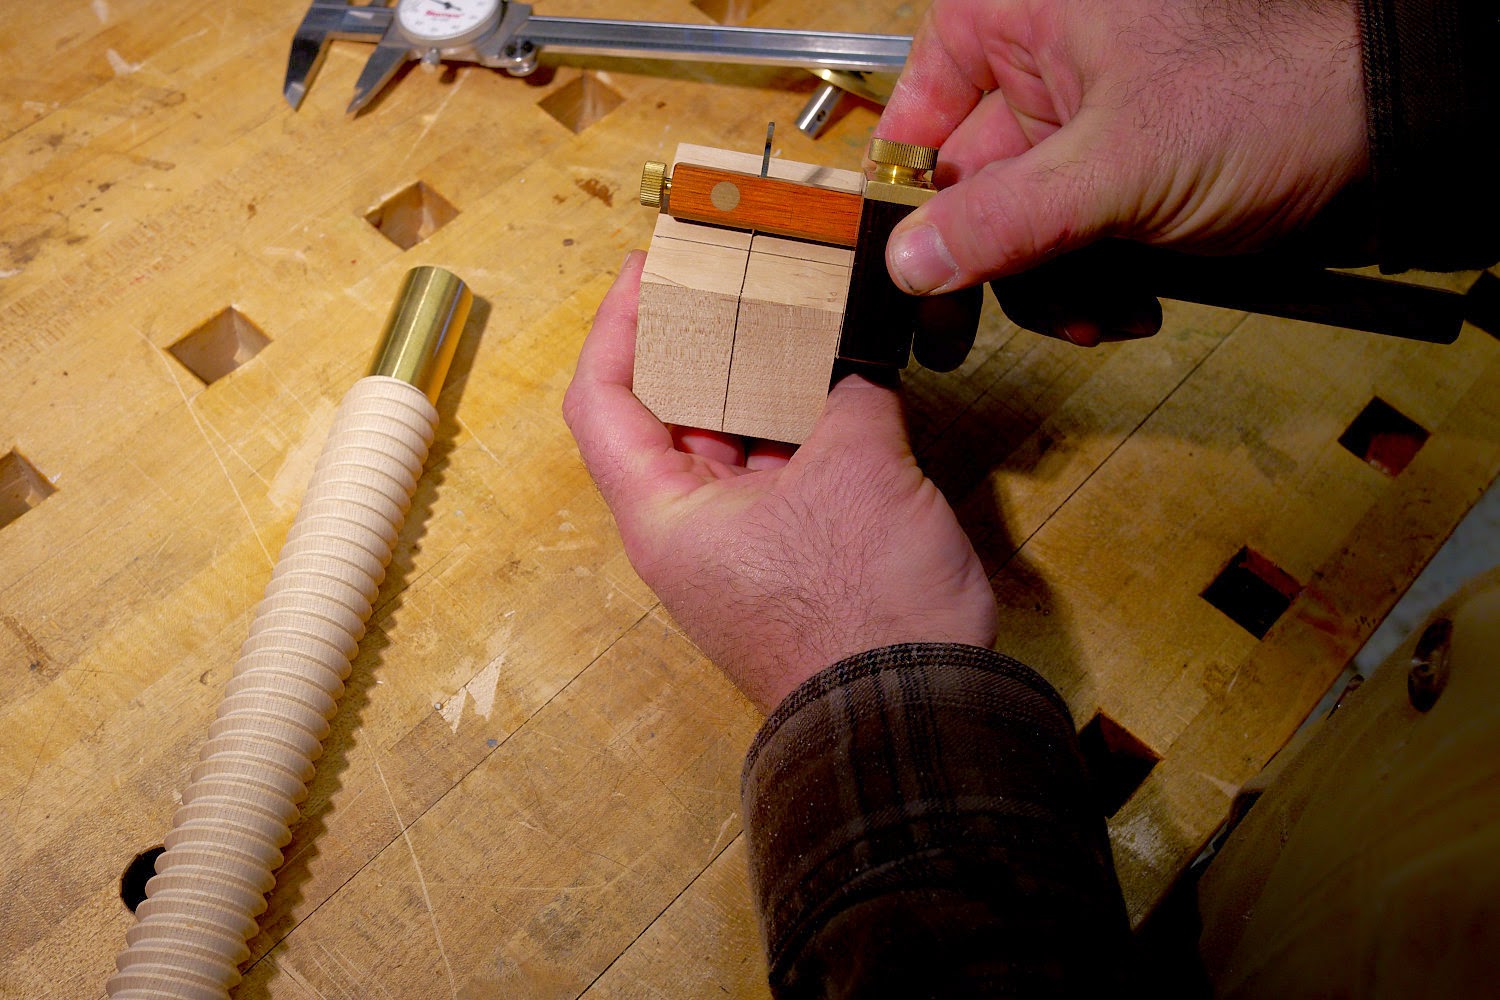
Reset your marking gauge for exactly twice the previous setting and scribe another line parallel to the previous one. This will be the depth of the hole the screw's tenon fits into.


Now scribe a center line perpendicular to the other lines in the middle of the block (it doesn't have to be exactly in the middle) and carry the line down the front of the block.


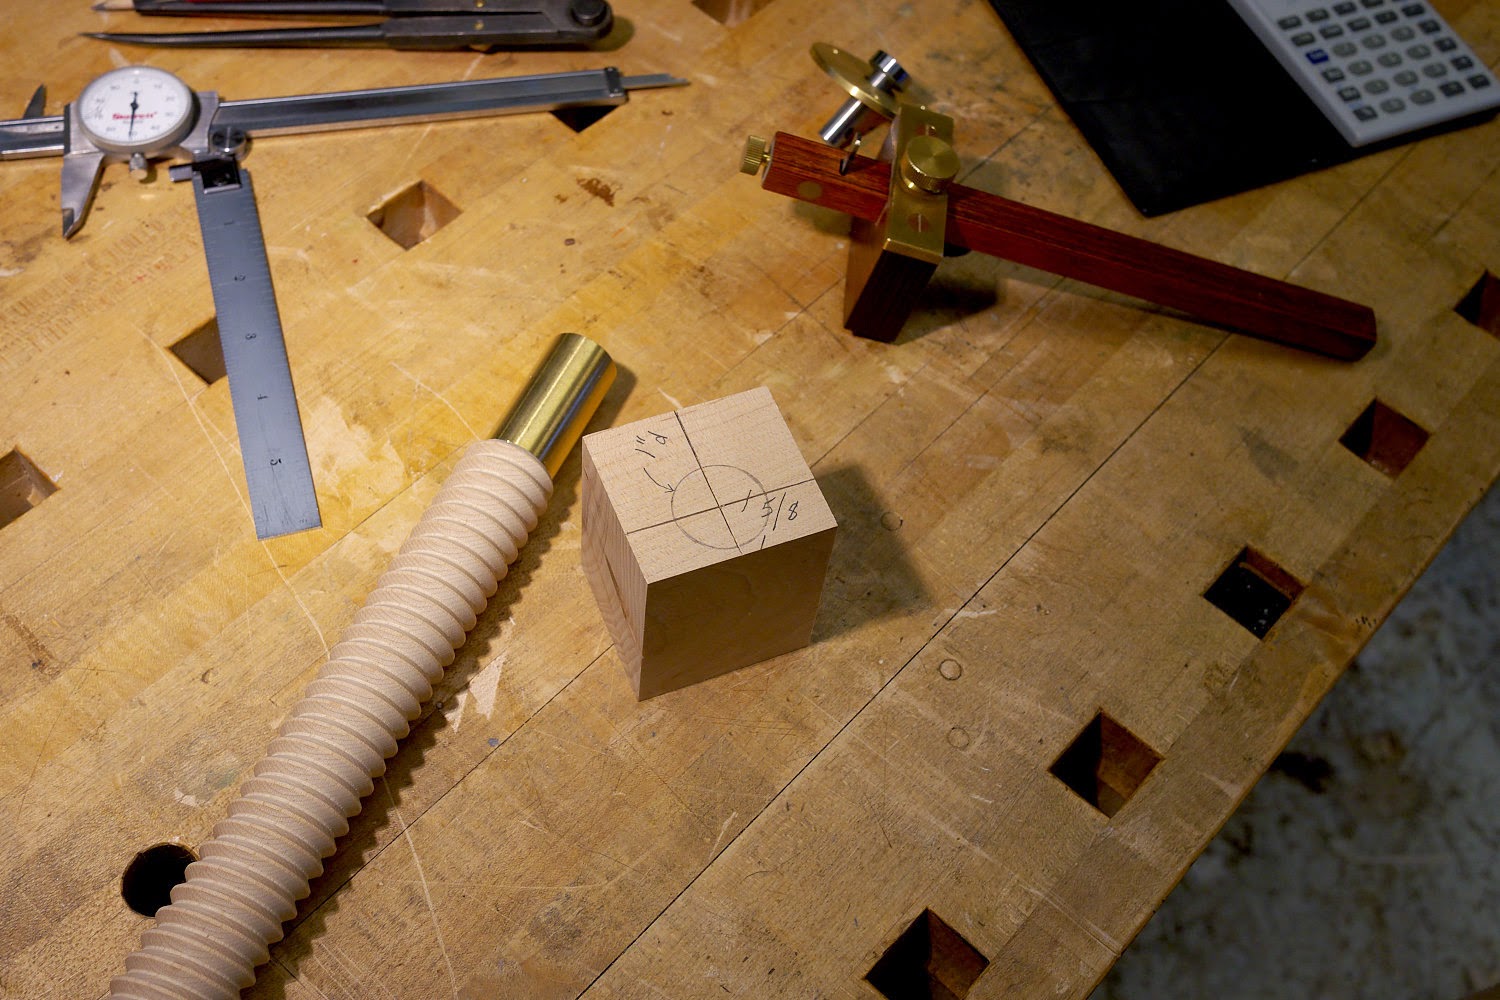
Now scribe a line 5/8" up from the bottom of the block on the front side and draw a 1" circle where it intersects. This is the hole for the screw's tenon.


Where the center line intersects the line on the top of the block you'll drill a 3/16" hole.


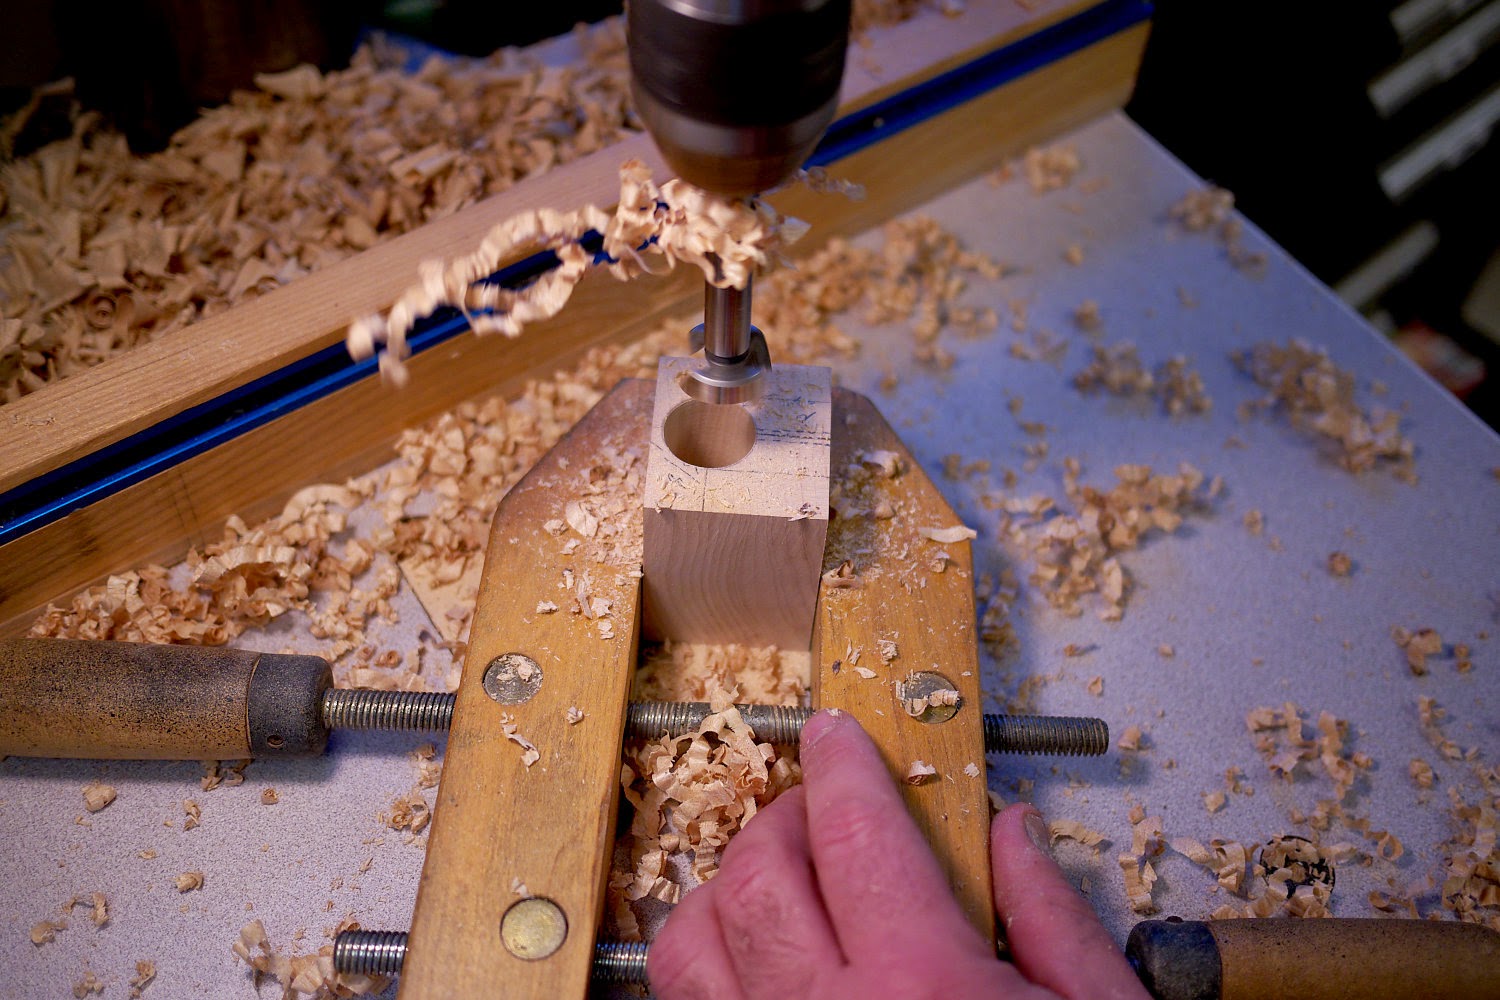
If you have a 15/16" forstner bit, mount it in your drill press. A brace and bit works too. Otherwise, use a 1" bit. Set your depth stop so the bit stops at the second scribe line on the top of the block.


Now flip the block so the top is up. Using a brad point bit, drill the 3/16" hole until you feel it break through into the larger hole.


If you drilled a 1" hole, you'll need to wrap some masking tape around the ferrule to take up the slack. Put enough layers so it fits snugly into the hole.


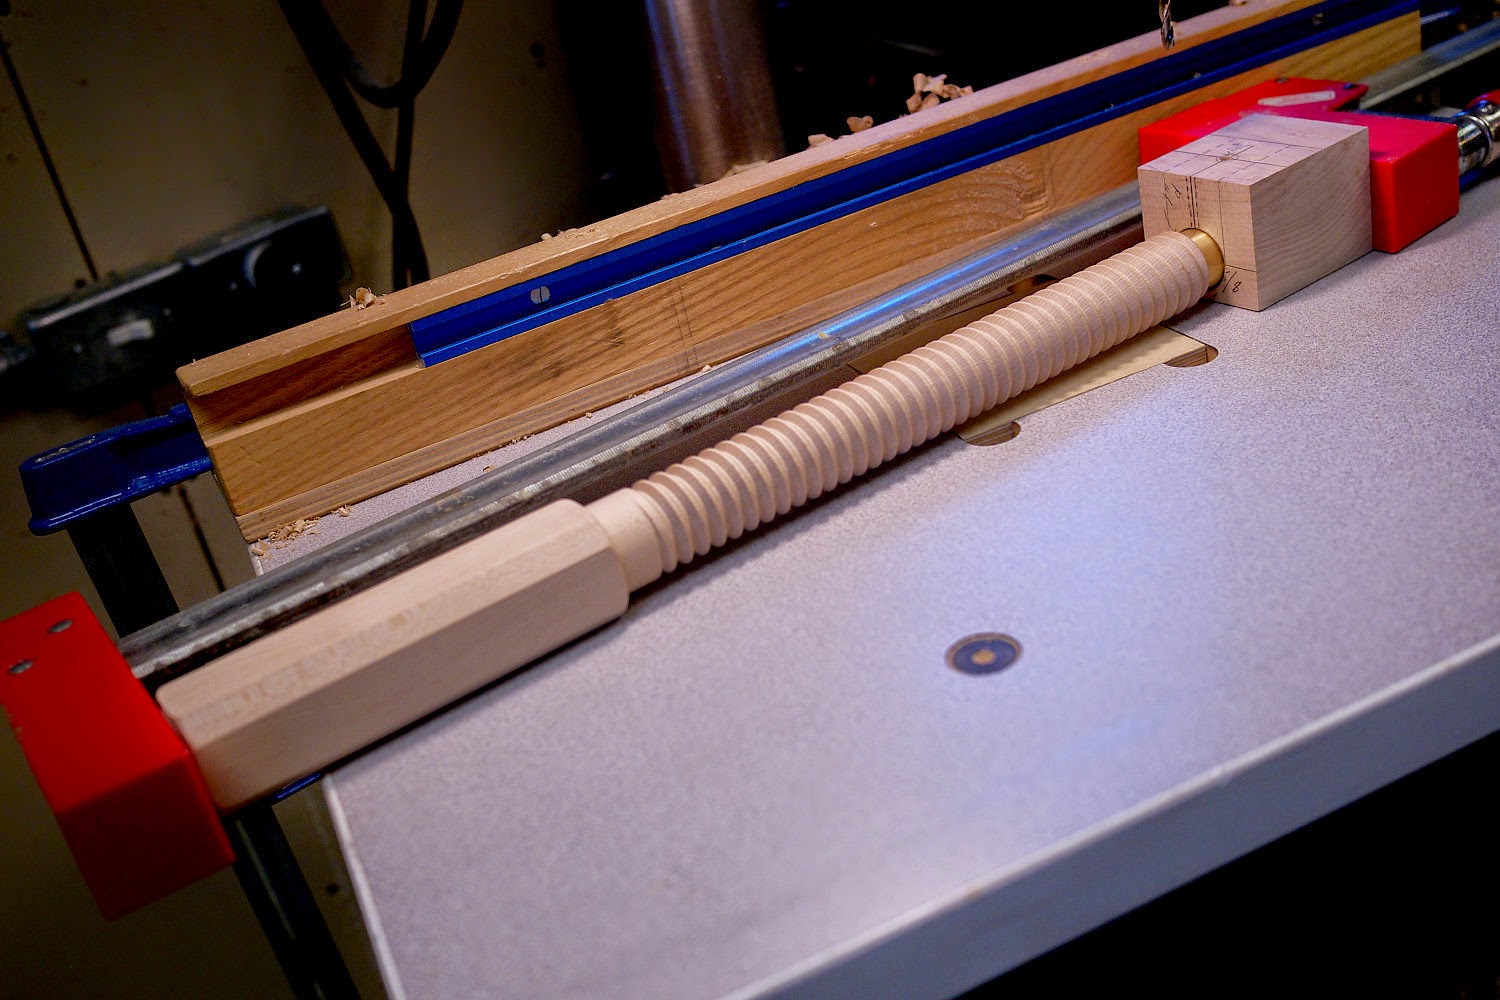
Hold the screw firmly into the drilling block with a clamp and drill the 3/16" hole through the guide block, ferrule and screw tenon. Use a regular twist bit, and use a sharp one.


Assemble the components and see how they all line up. The cross hole in the ferrule, screw tenon and garter pin should all line up, with about 20 thousandths play about the garter.


To test fit the groove pin in the garter pin, cut the drilling block in half and use it to support the end of the screw. Do this without the garter in place, then remove the pin. Later, when the vise is totally finished, you'll install the garter after the screw is threaded through the nut block.See video below.

If you've messed up somewhere and the garter is too tight, you can file and/or sand the end of the ferrule and tenon to loosen up the fit. If the fit is too loose or sloppy, you may be able to place a washer on the garter pin's shaft between the head of the pin and the garter. This will get buried in the moving jaw, so you'll never see it.


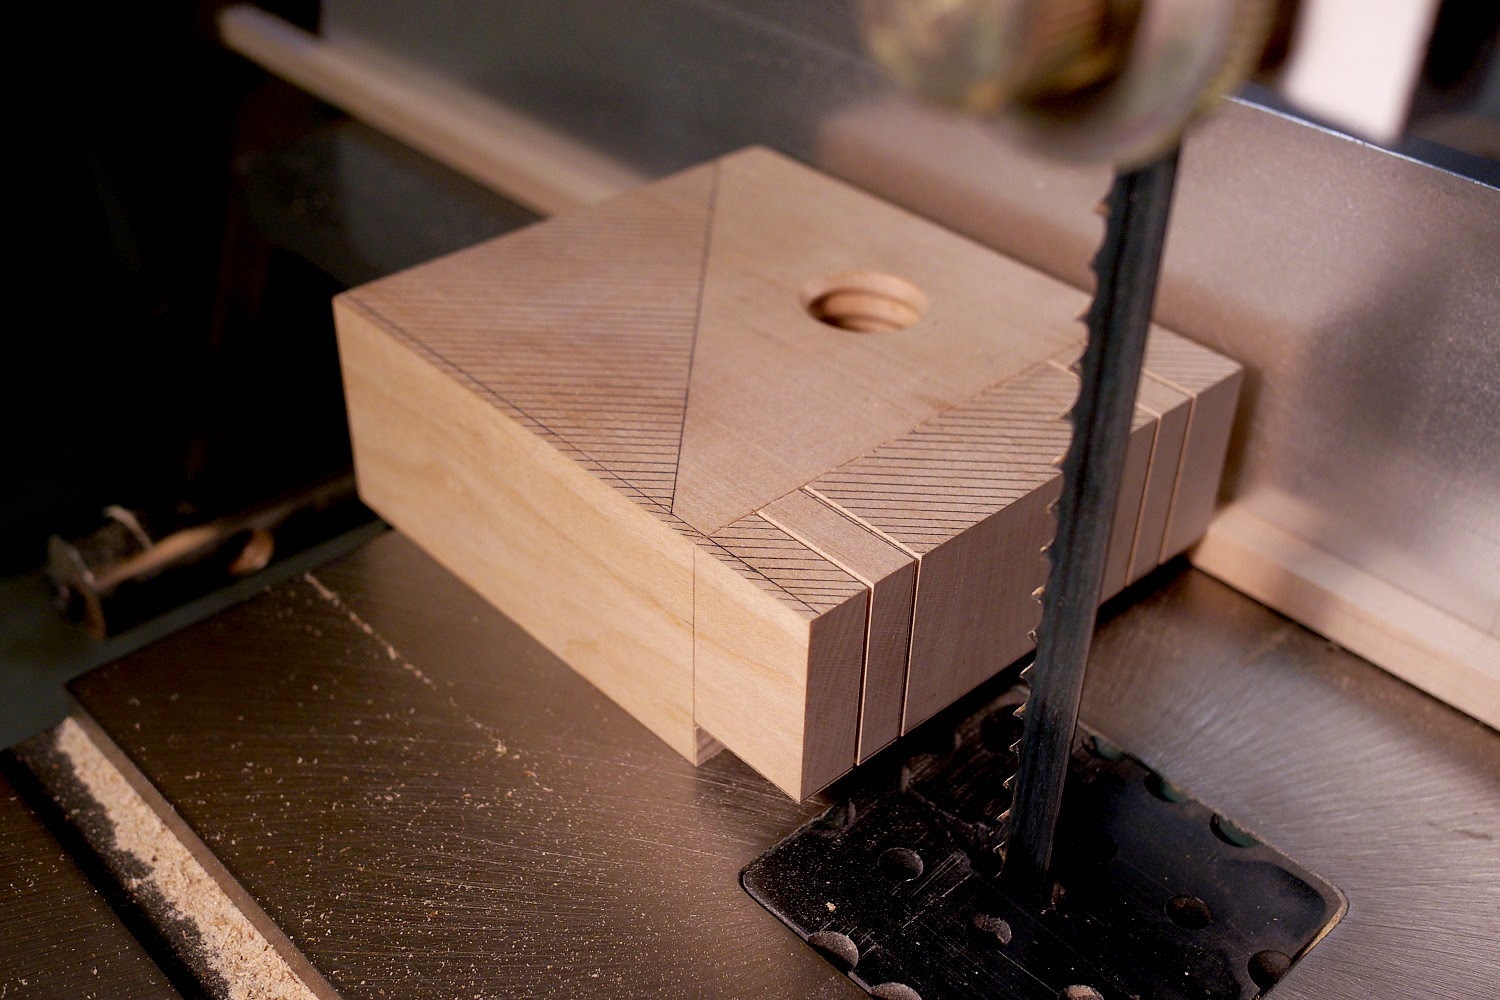
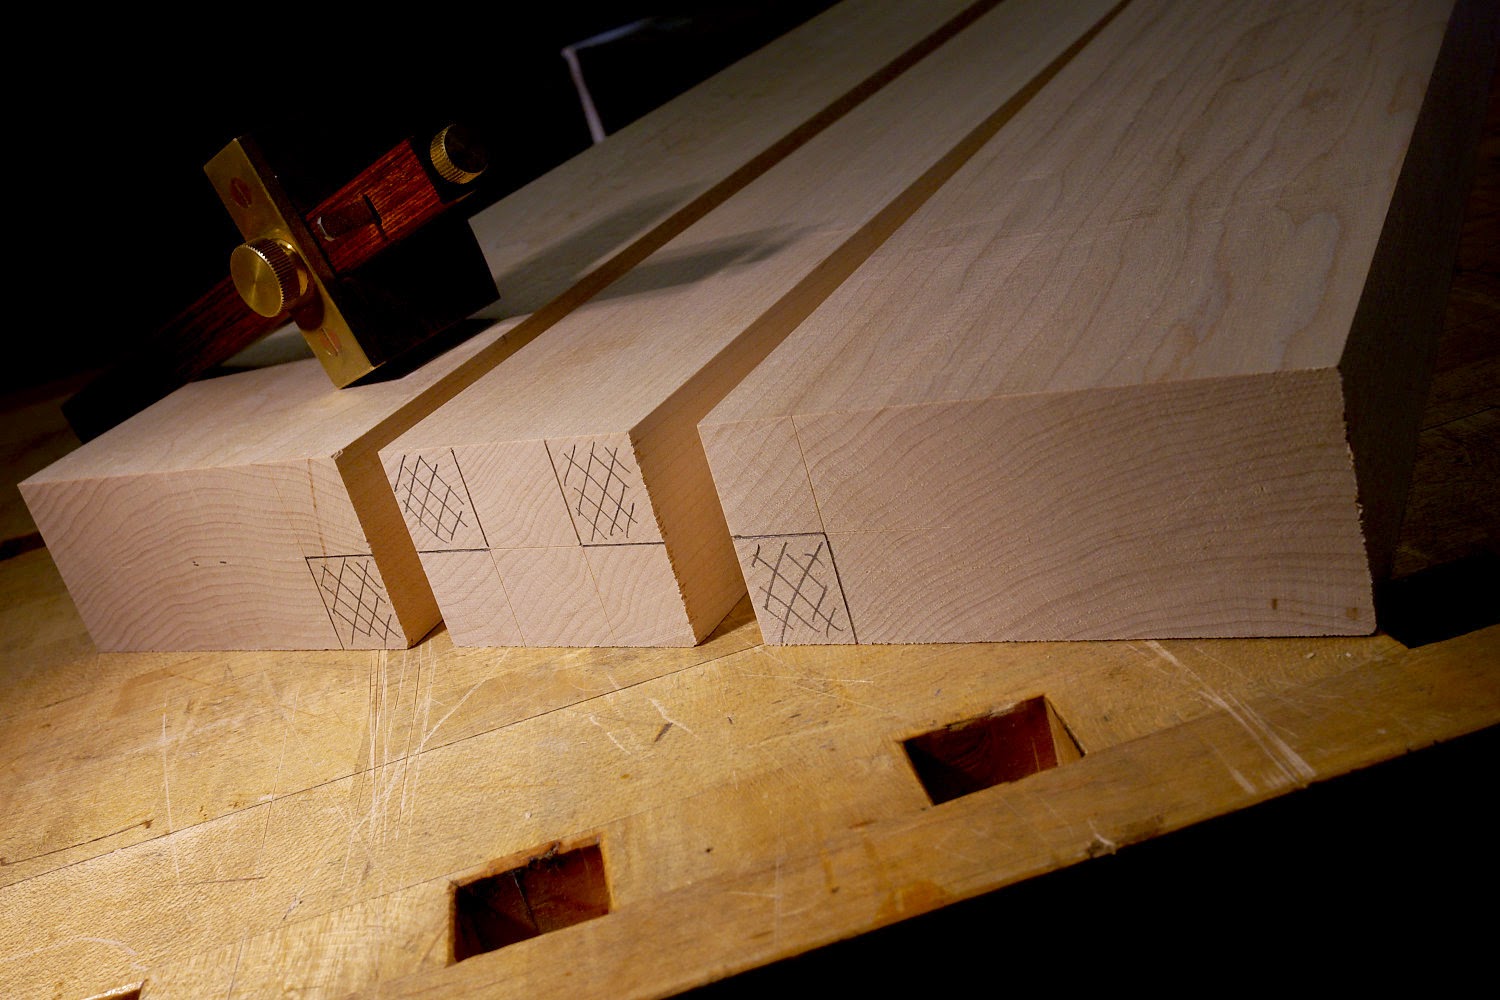
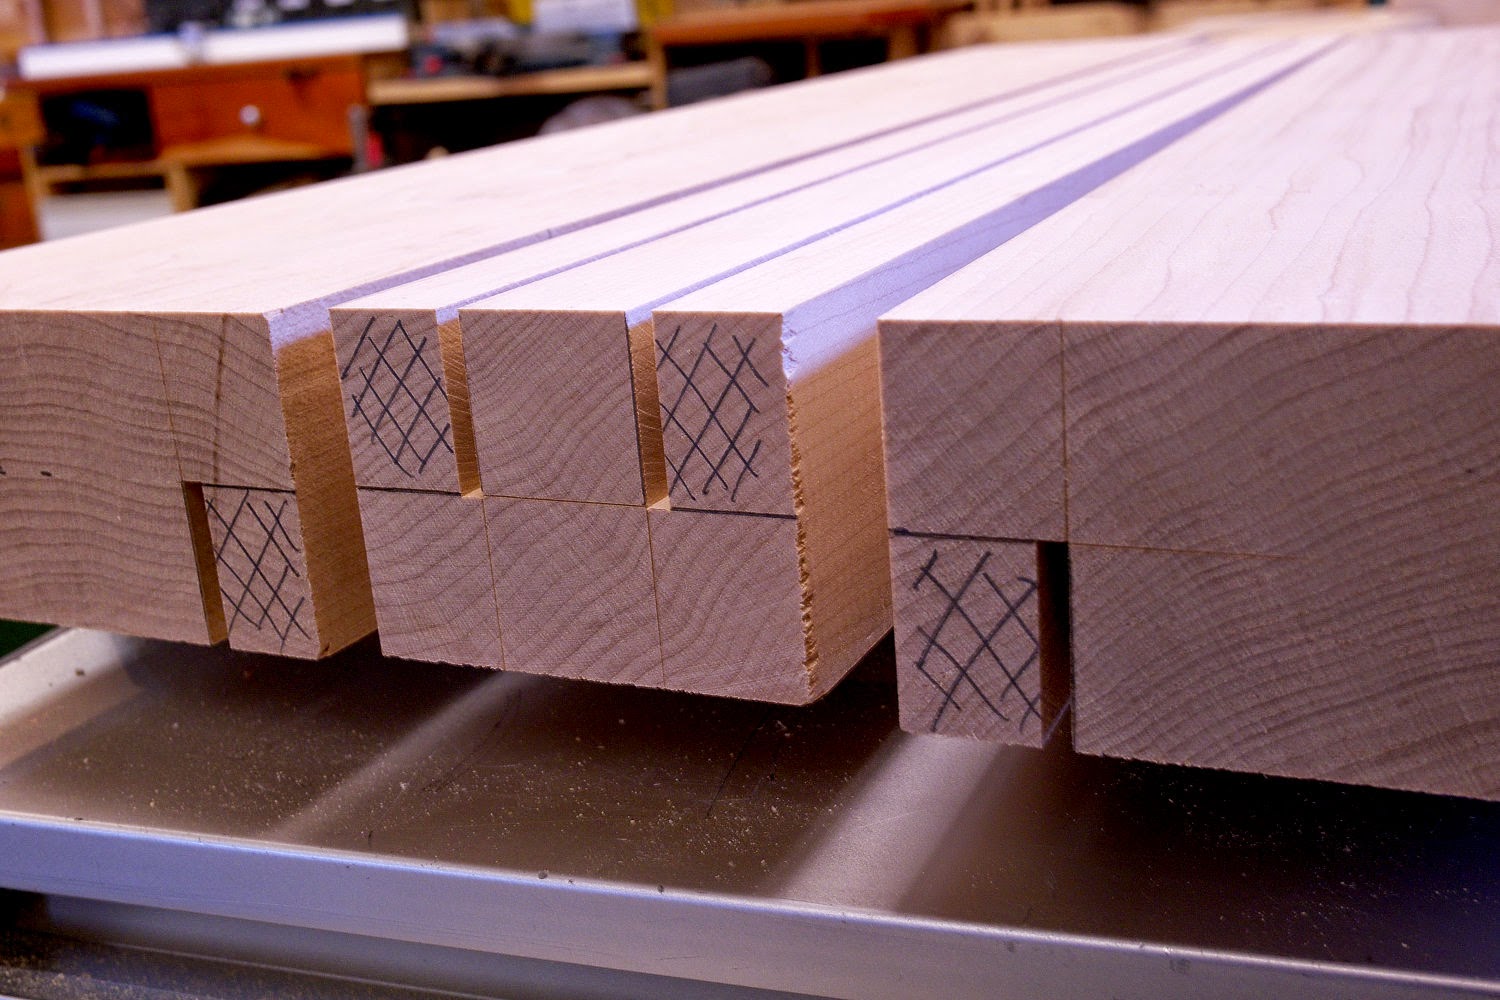
Next, lay out the joinery on the nut block. The tenons on the original are 7/16" wide, but if your tooling is happier with 1/2" feel free to use that. I'm trying to make mine as close to the original as possible, so I'm using 7/16". The grain here is running vertically. The threaded portion of the nut should be facing in. You'll also note that the nut block is a bit oversized in length and width, but not in thickness.


Also lay out the grooves for the runners on the top of the body and the end.


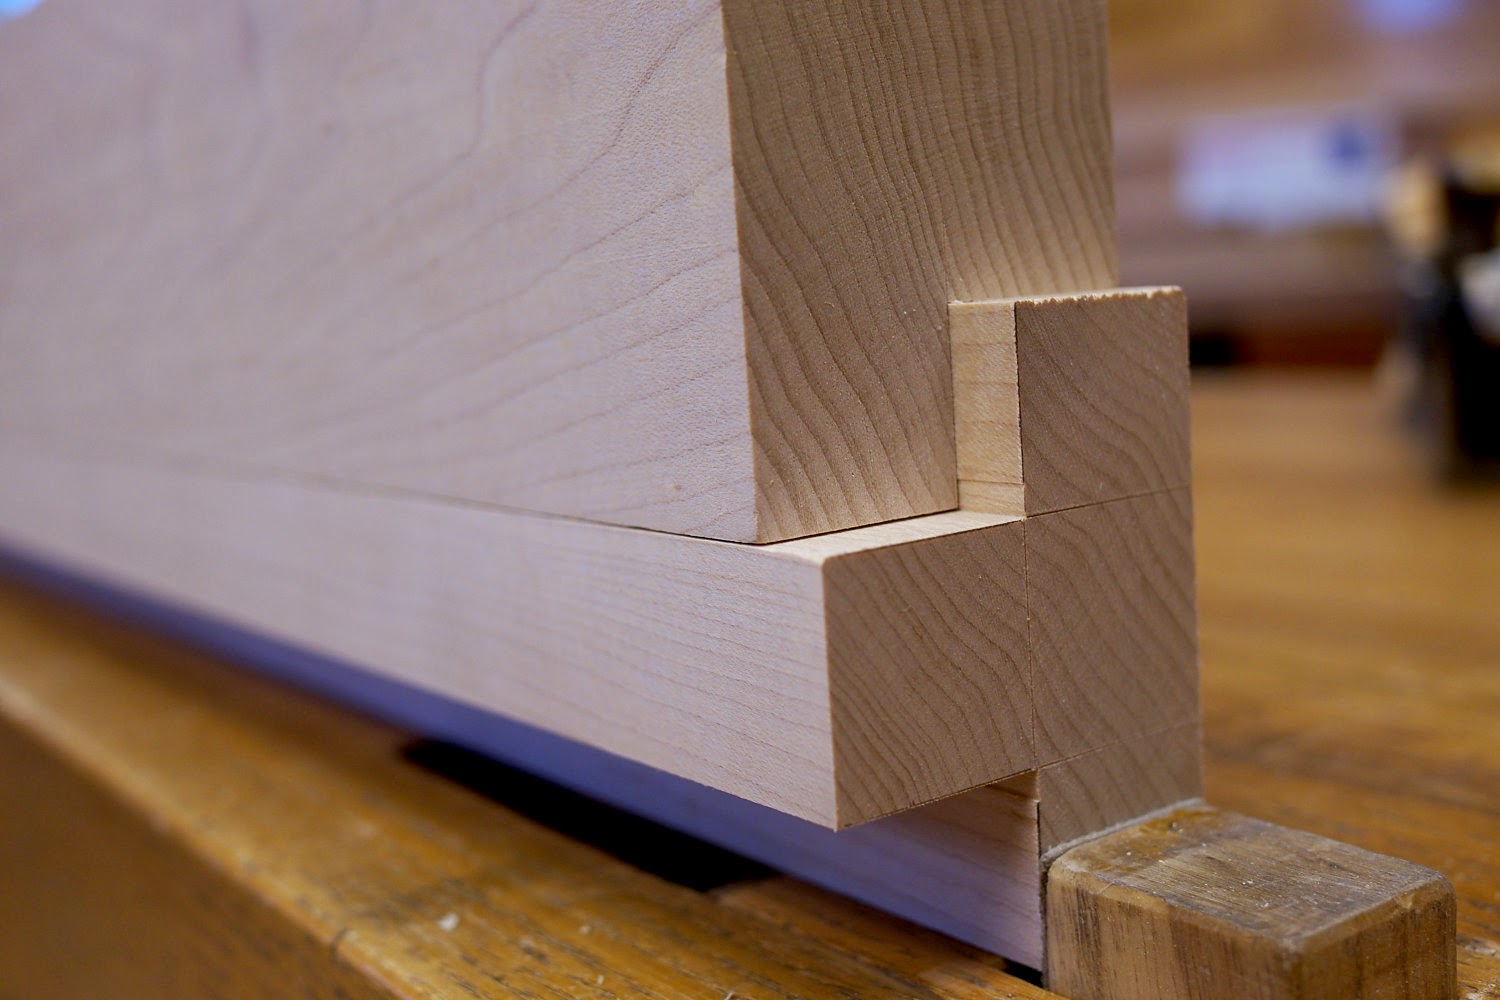
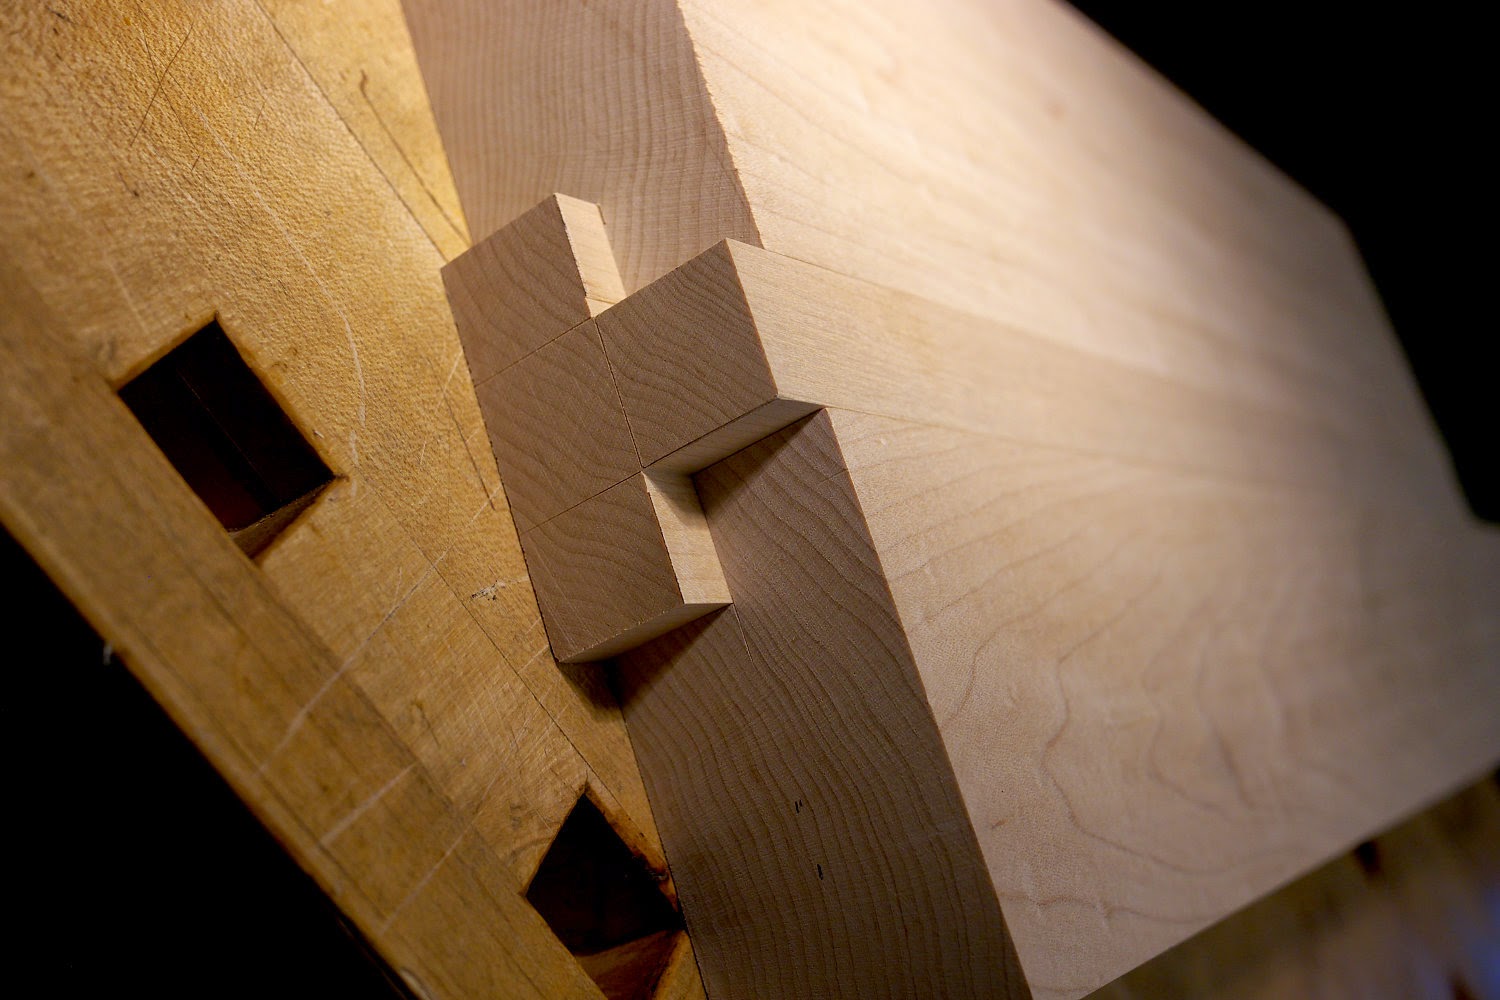
I cut the tenons on the nut block with machines and by hand. The cheeks were cut on the bandsaw. I cut the majority of the waste between the tenons freehand, getting as close to my scribed shoulder line as I dared. 


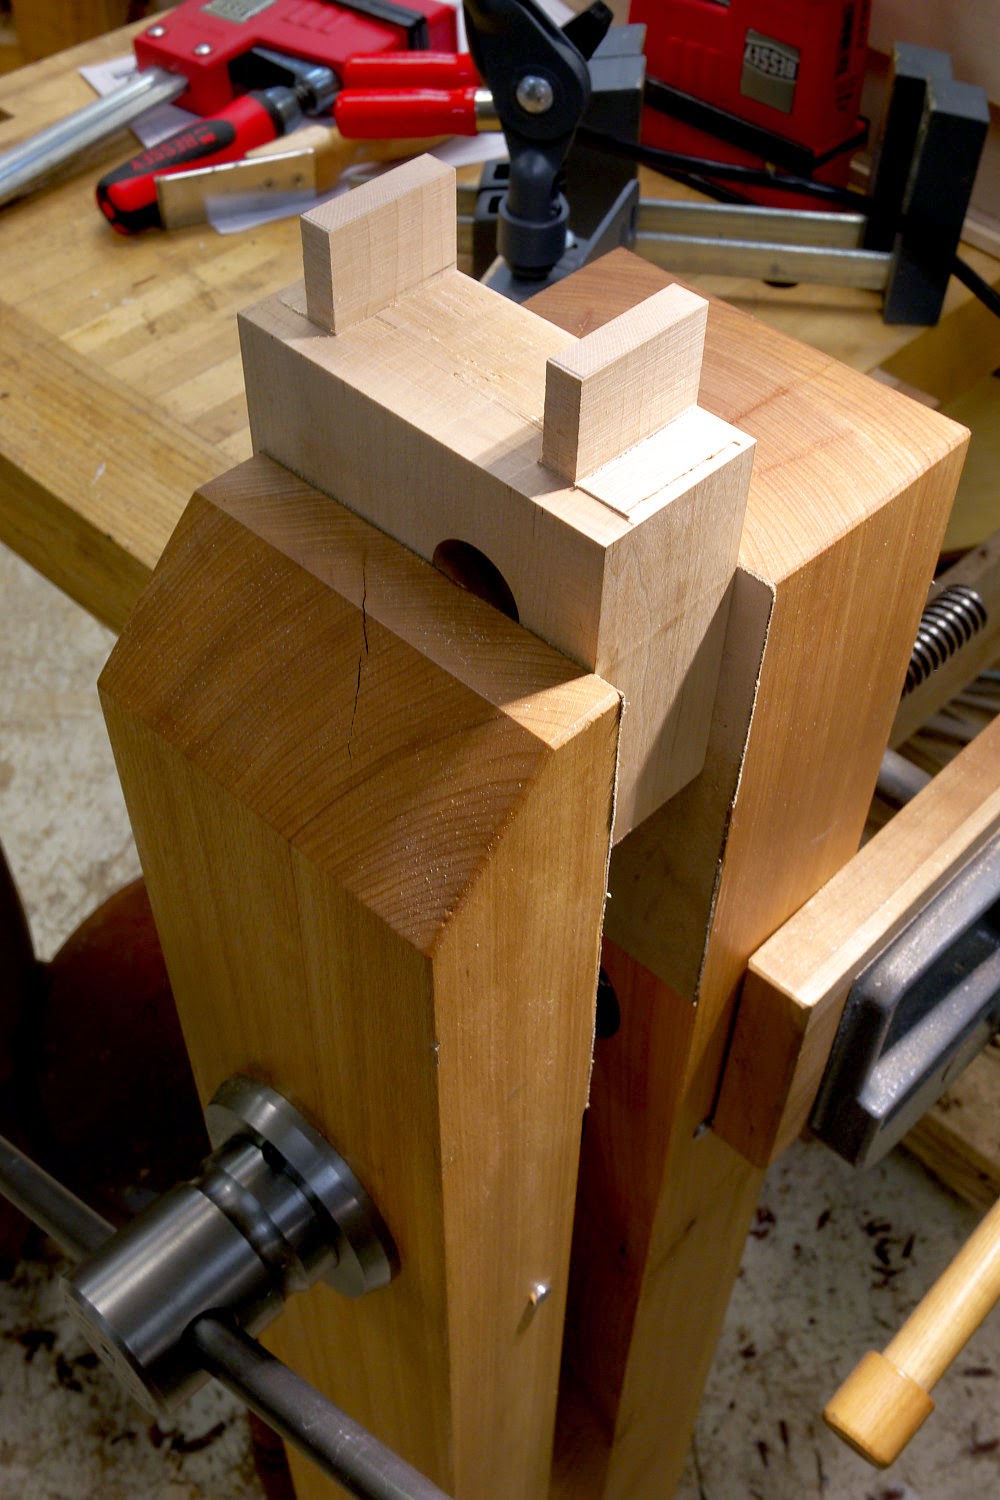
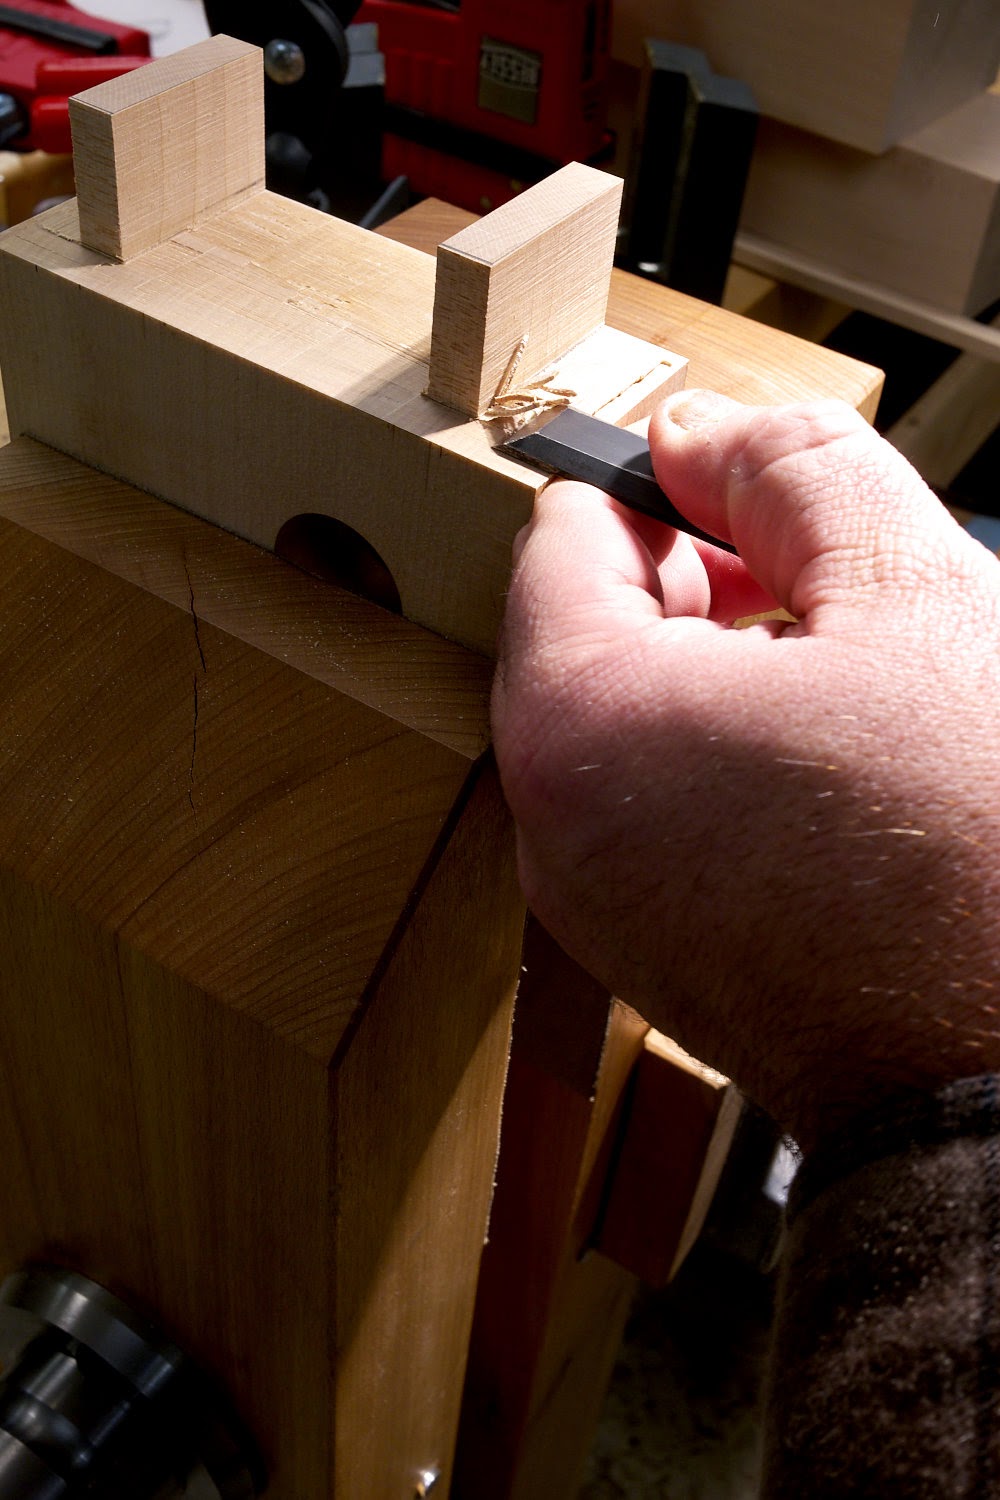
The shoulders are chopped with a chisel placed directly in the scribe line.  On the outside shoulders I only chop down one blow, then turn the block and repeat on the adjacent face. It's nearly impossible to chop flat to two adjacent surfaces, even with scribe lines. So I use this method.


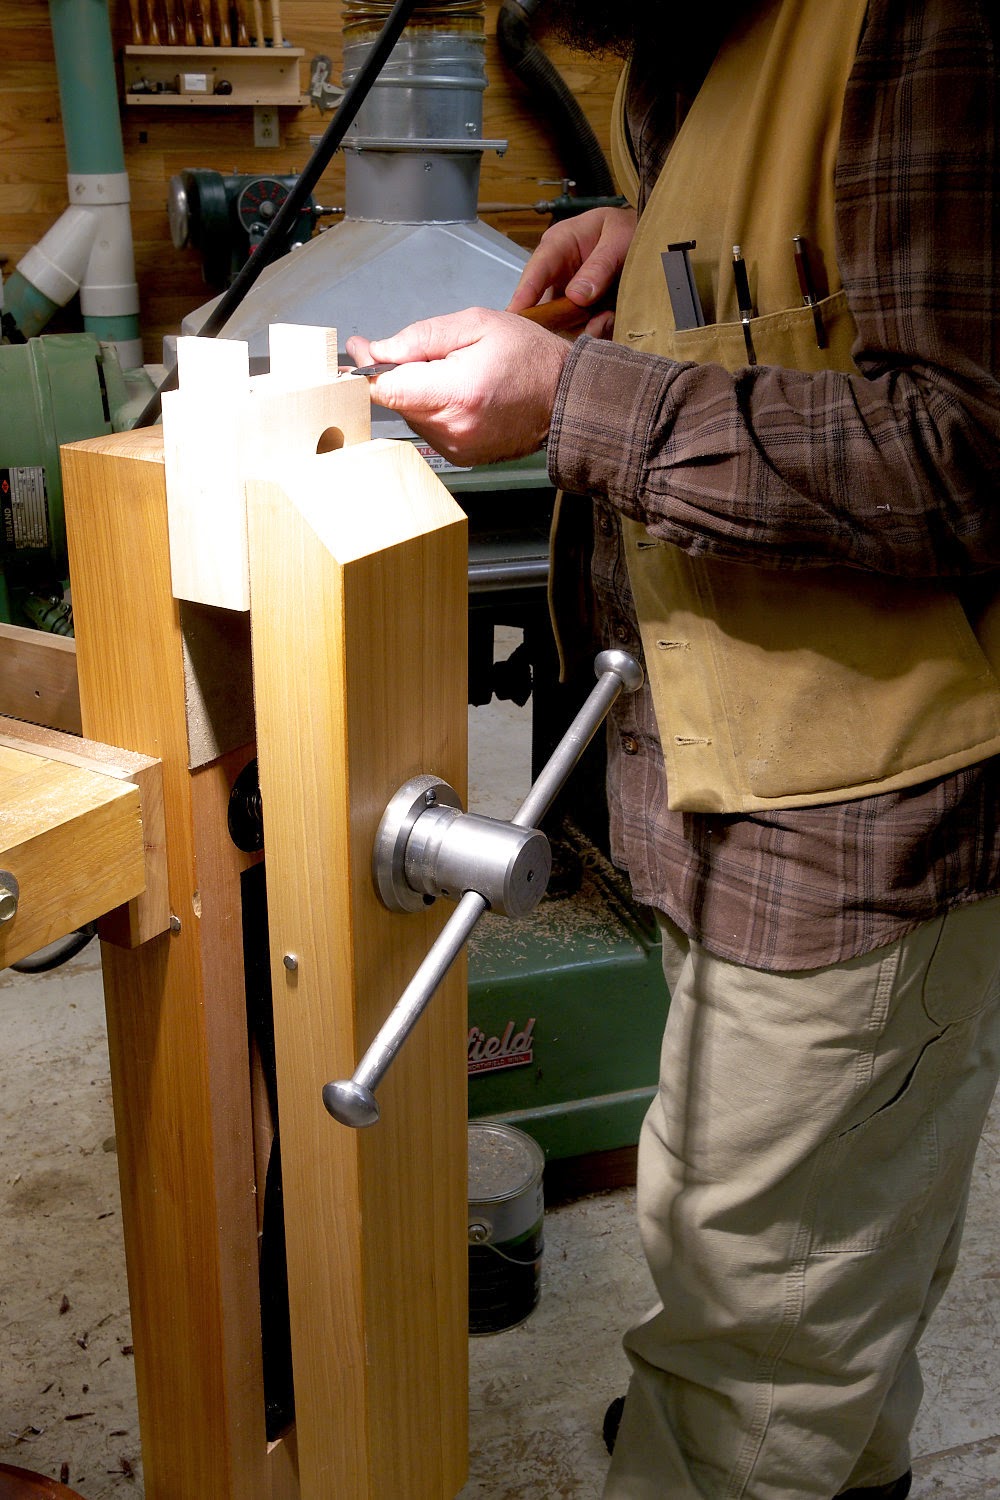
Once I've chopped down on all three sides I mount the workpiece vertically in a high vise which places the work at chest height where I can use my paring chisel to shave the remaining waste flat to the chopped areas.


I can exert lots of controlled pressure using my high vise. It's awesome. If you have the means, I highly recommend picking one up.


The trick to paring waste like this is to take small bites with the edge of the chisel. I do about half the waste, then start from the opposite side to balance wear on the tool.

Here's the video on drilling the ferrule and tenon.

Tuesday, December 30, 2014

Building The La Forge Royale Miter Jack- Part 1


When I build, I use a simple principle. I keep parts as large as possible, for as long as possible. I only make cuts or plane surfaces that are essential to the task at hand. This accomplishes two things. It gives you the opportunity to correct small errors, and it prevents you from making errors by keeping your mind focused on simple, individual tasks. This is especially important when building something for the first time. As this is the first miter jack I've built using this design, be warned that I have not had a trial run. I'm as green as you are if you're building along.


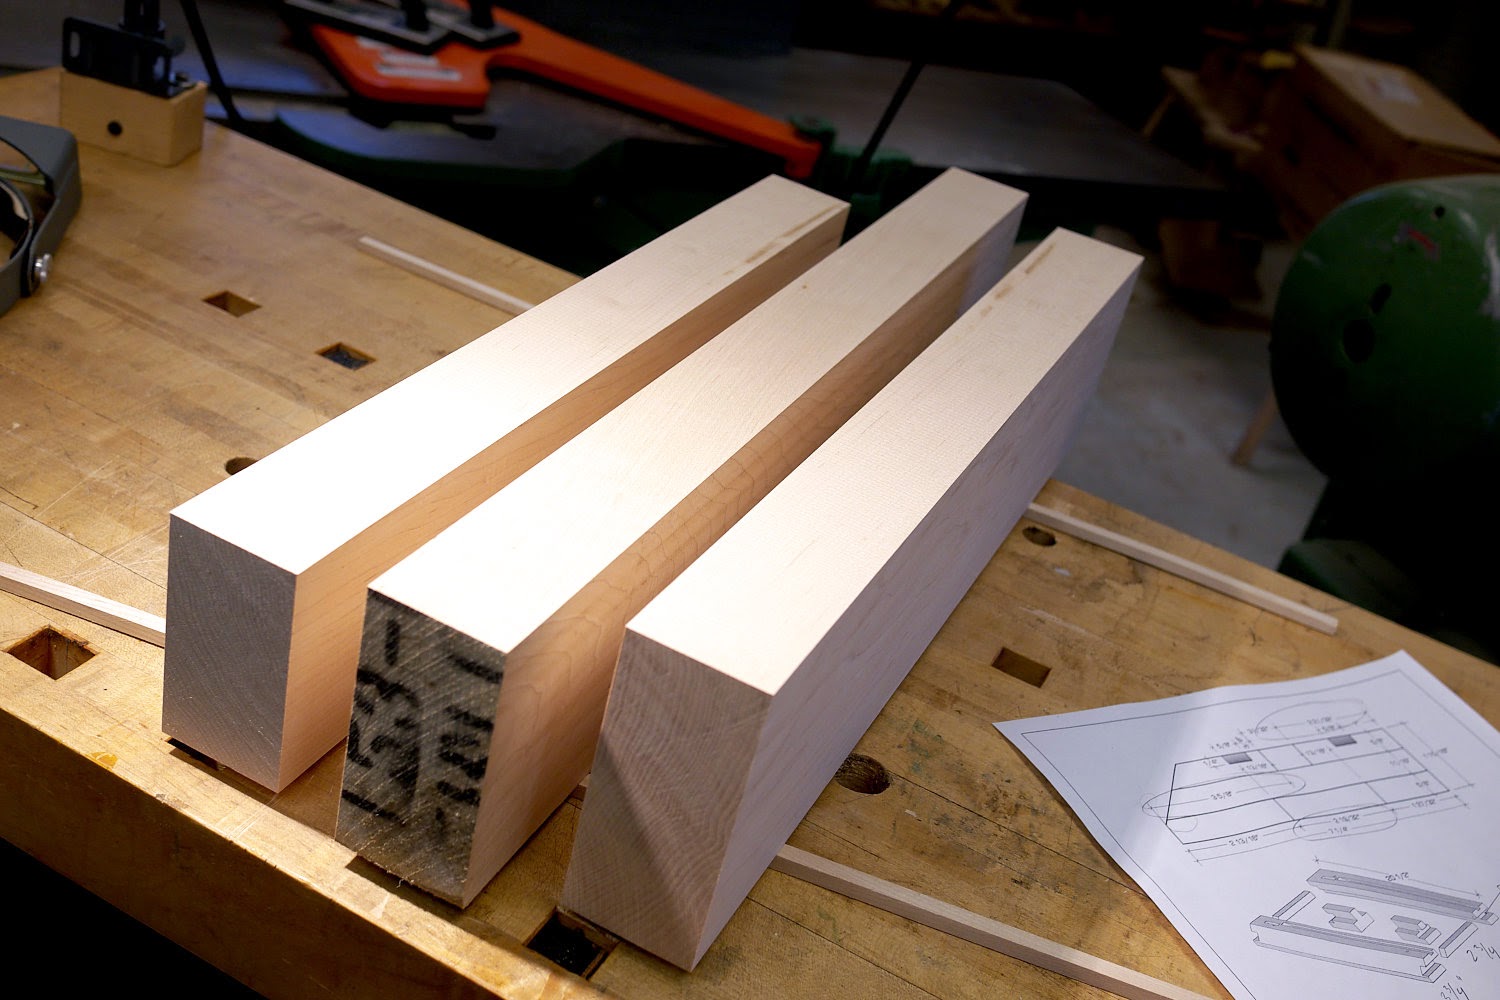
First thing is to mill the stock for the base, which finishes out at 1-15/16" thick. If you choose good straight stock, and tell your yard not to hit or miss it (skip plane), you can likely get that thickness from 8/4 stock. If not, you'll need to laminate, or use 9/4 stock at least. I began with 12/4 hard maple, and sawed about 3/4" off the thickness (each face) before milling it to 1-15/16". I did not have access to quartered stock, but if you do, definitely use it. It will make the base very stable.


After milling, layout the large rabbets on the spacer stock and the two body sections. If you use a table saw to cut the rabbets, you only need to layout on one end of each board.


The rabbets are 13/16" wide and 31/32" deep. The latter dimension centers the rabbet on the stock's thickness. Note that the spacer stock is milled to final width, and is the full length of the other body pieces. More on that later. The two body pieces have not been milled to final width.


If you use machinery, the table saw excels for cutting the rabbets. With only four to cut, I didn't bother mounting a dado set. I like the more controlled results I get with the two cut method anyway. Especially with these very large rabbets in hard maple.


It's best to cut the rabbets a tad small, then dial them in with a shoulder plane. If you do this, make absolutely sure your iron is set parallel to the sole. It's all too easy to go past 90 degrees, even with just a couple strokes. The trick to using a shoulder plane in this situation is to take as much of yourself out of the equation as possible. Use your leading hand to firmly press the toe of the plane directly into the rabbet's corner. Now use your other hand and push forward only. Don't grab the plane with this other hand, your leading hand is the steering wheel, and your other hand is the gas pedal. If your iron is sharp (it better be) the plane will jig itself into the rabbet and make it dead square with successive passes. I like to take many light passes with a rabbet plane. It may be slower, but I can be extremely precise.


Here you can see that I've got to take a couple passes either on the top edge of the spacer stock, or on the side of the rabbet in the body section. I took a couple passes on the spacer stock with a bench plane to get the fit right.
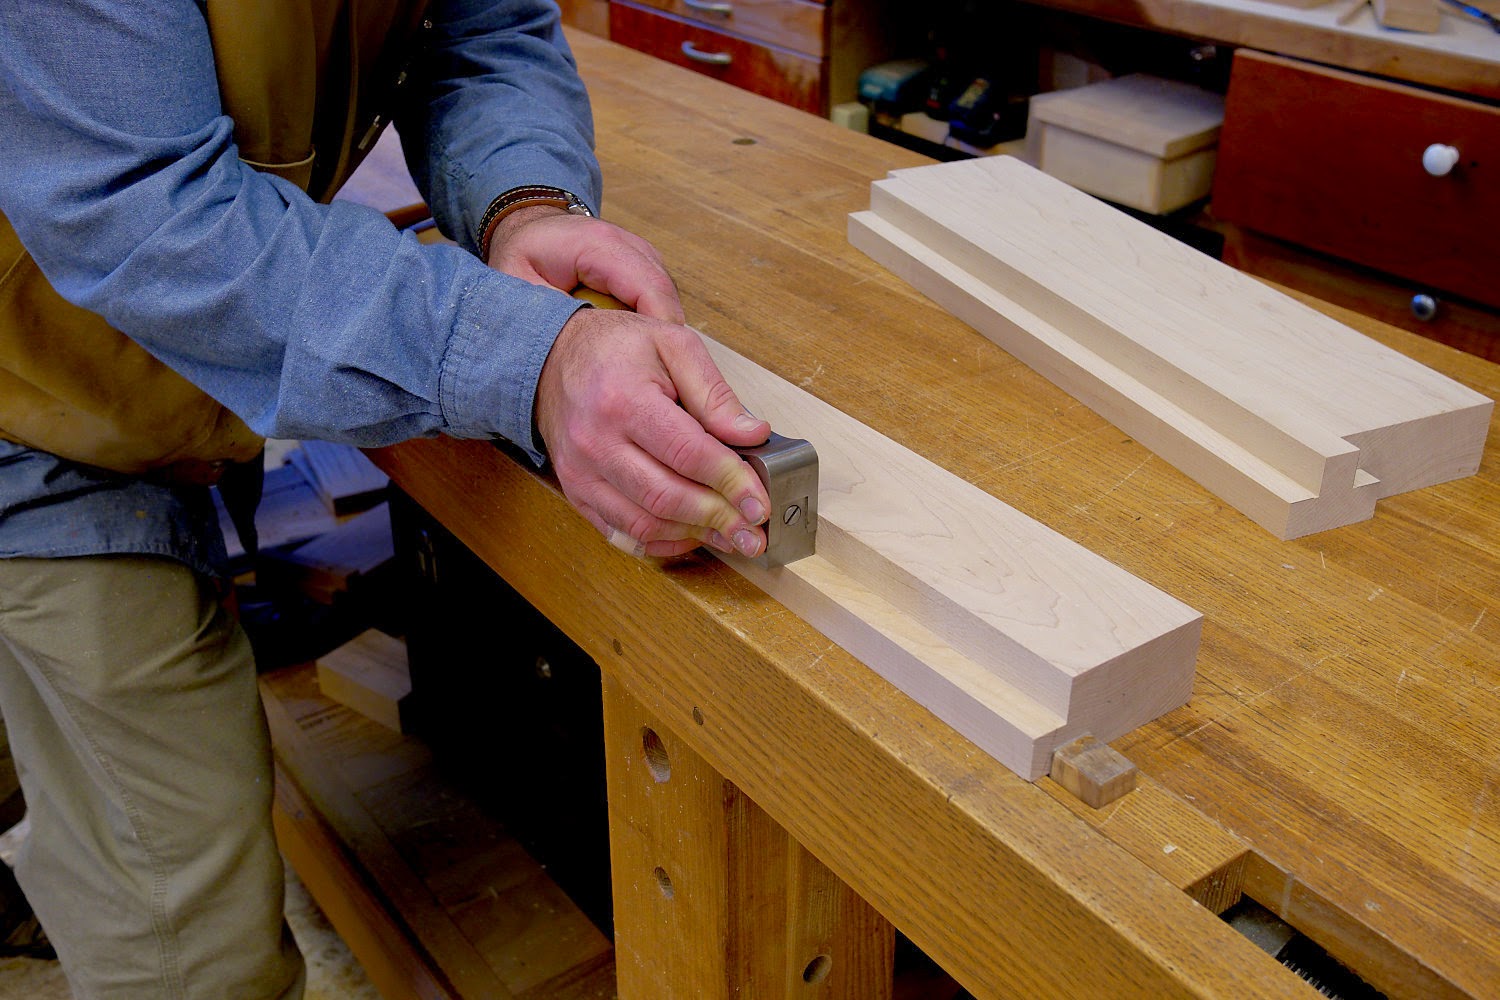

A good fit on all three surfaces. It's not entirely necessary that you nail a certain dimension here. So if you need to make the spacer a little narrower to get a sweet fit, do so. Good joinery is more important than an arbitrary number.


With the spacer stock in place, mark for the final length of the body, and for the length of the two spacer piece at each end. There's a minor mistake in the Sketchup drawing. The spacer blocks are both 3-1/4" long, but in the original jack the spacer block on the nut block end is 3" long. It won't affect anything on the vise, so I'm leaving the SU drawing as-is. I did mark my nut-end block at 3".

Next, cut the spacer blocks from the piece, but only cut the inside end. Leave them long for now, like the body pieces. You will cut them to final length after gluing them to the body pieces. You will want to sand the ends of the spacer blocks now, before glue up.

The remainder of the spacer stock will get used for the jaw spacers and retaining blocks.


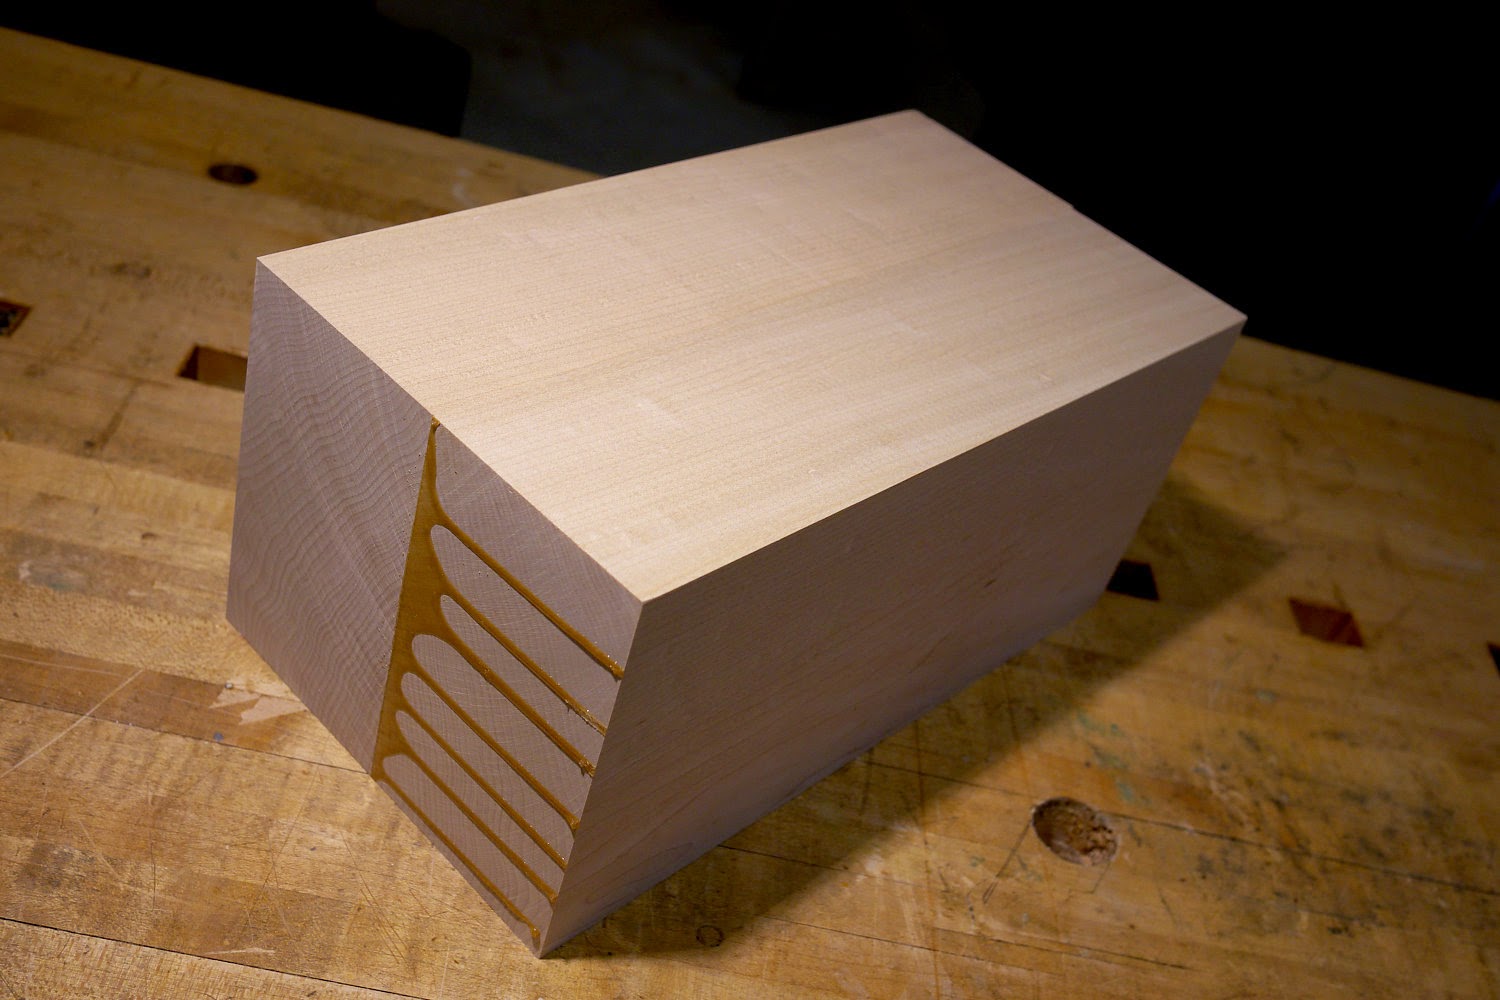
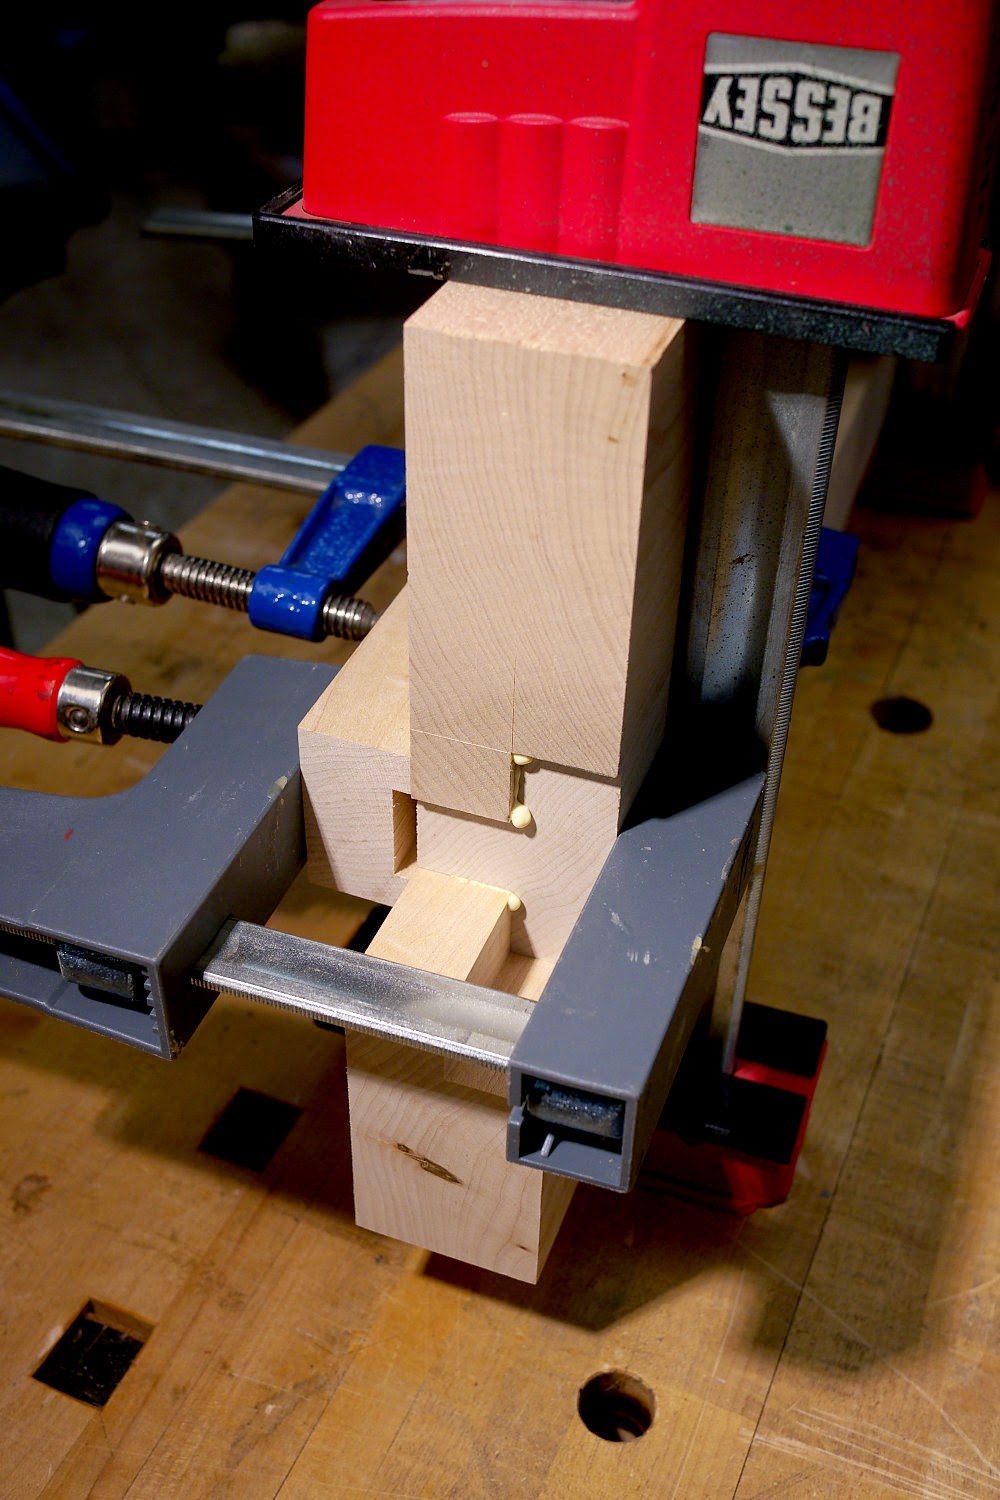
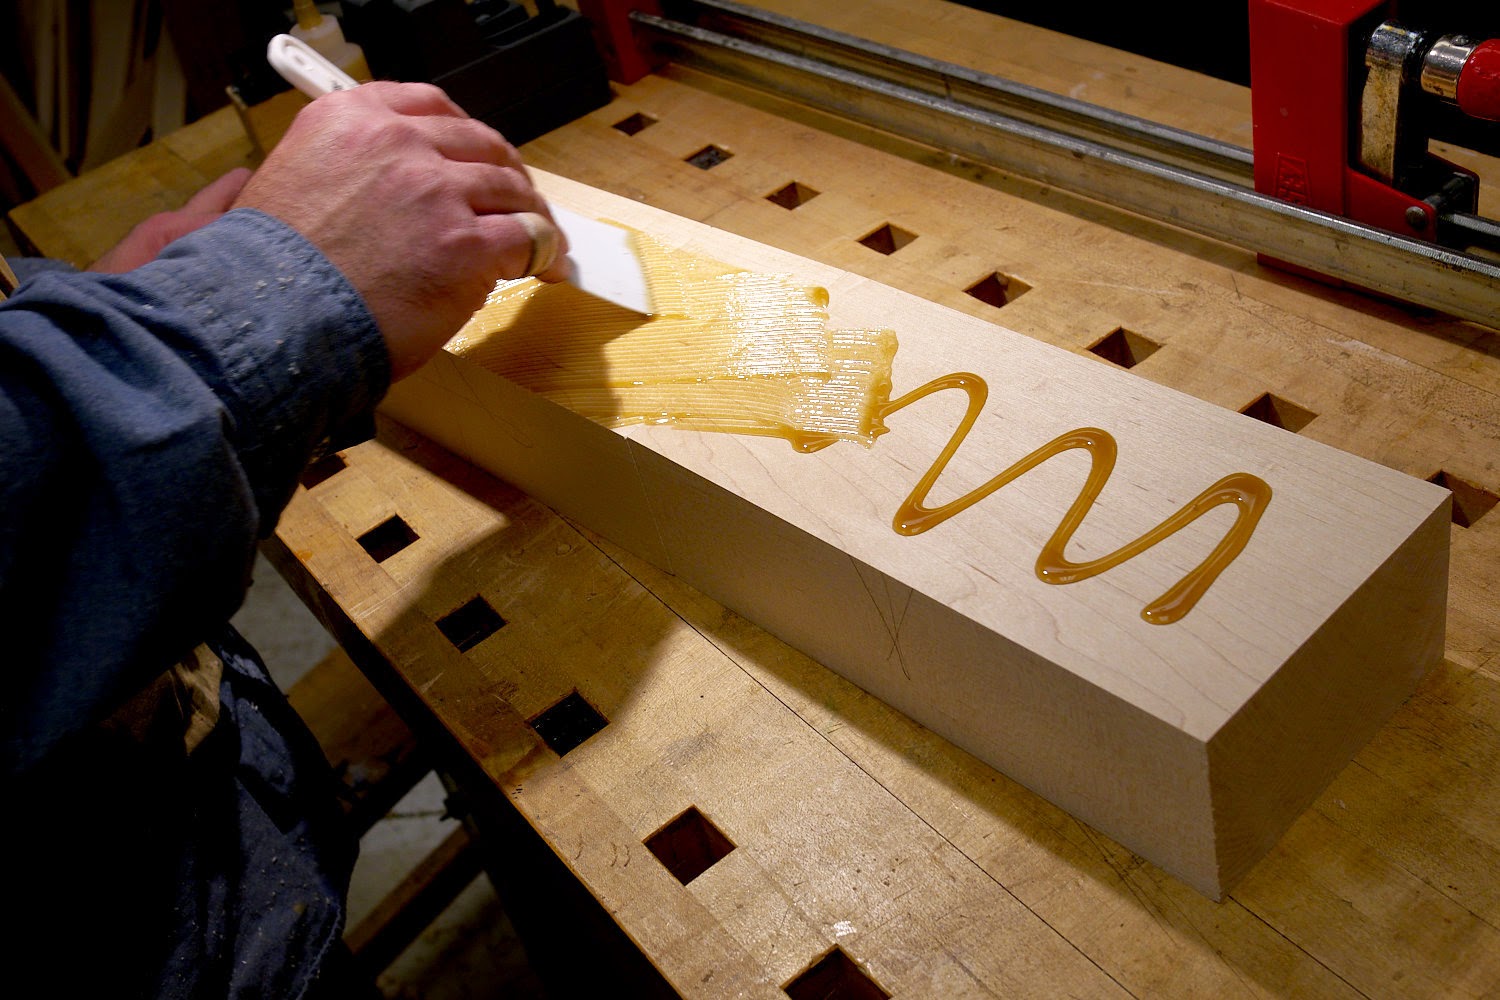
Glue up the base assembly, carefully aligning the inside ends of the spacer blocks with the marks on the body sections. The ends won't necessarily be flush, since all pieces are over length. I made two special cauls with relieved mid sections so I could draw up the spacer blocks tight into the rabbets. Make sure when you apply glue that you glue not only the rabbet in the spacer blocks, but also the lower edge that fits into the rabbet on the body pieces. I realized a few minutes after they were in the clamps that I had only glued the rabbet in the spacer blocks. I'm not worried about the strength, since these blocks don't see a whole lot of stress. The splines at the end will help reinforce as well. Still, don't make my mistake.


The jaws are glued up from 12/4 stock, or thinner if you need to. The original is finger jointed. Feel free to do this if you like the look. I'm not convinced it adds any strength if you can make a great glue joint.


Monday, December 29, 2014

A Case For Sharp Tools


If there's one single thing that can make or break your quest to better your work, it is, without a doubt, sharpness.

Several years ago I moved from making furniture to musical instruments and it completely changed the way I work wood. If you're stuck in a rut and making typical Shaker or Craftsman-style pieces (and I make both, and like both) I suggest you step back, buy a guitar kit and prepare yourself to become a Jedi-master of woodworking.


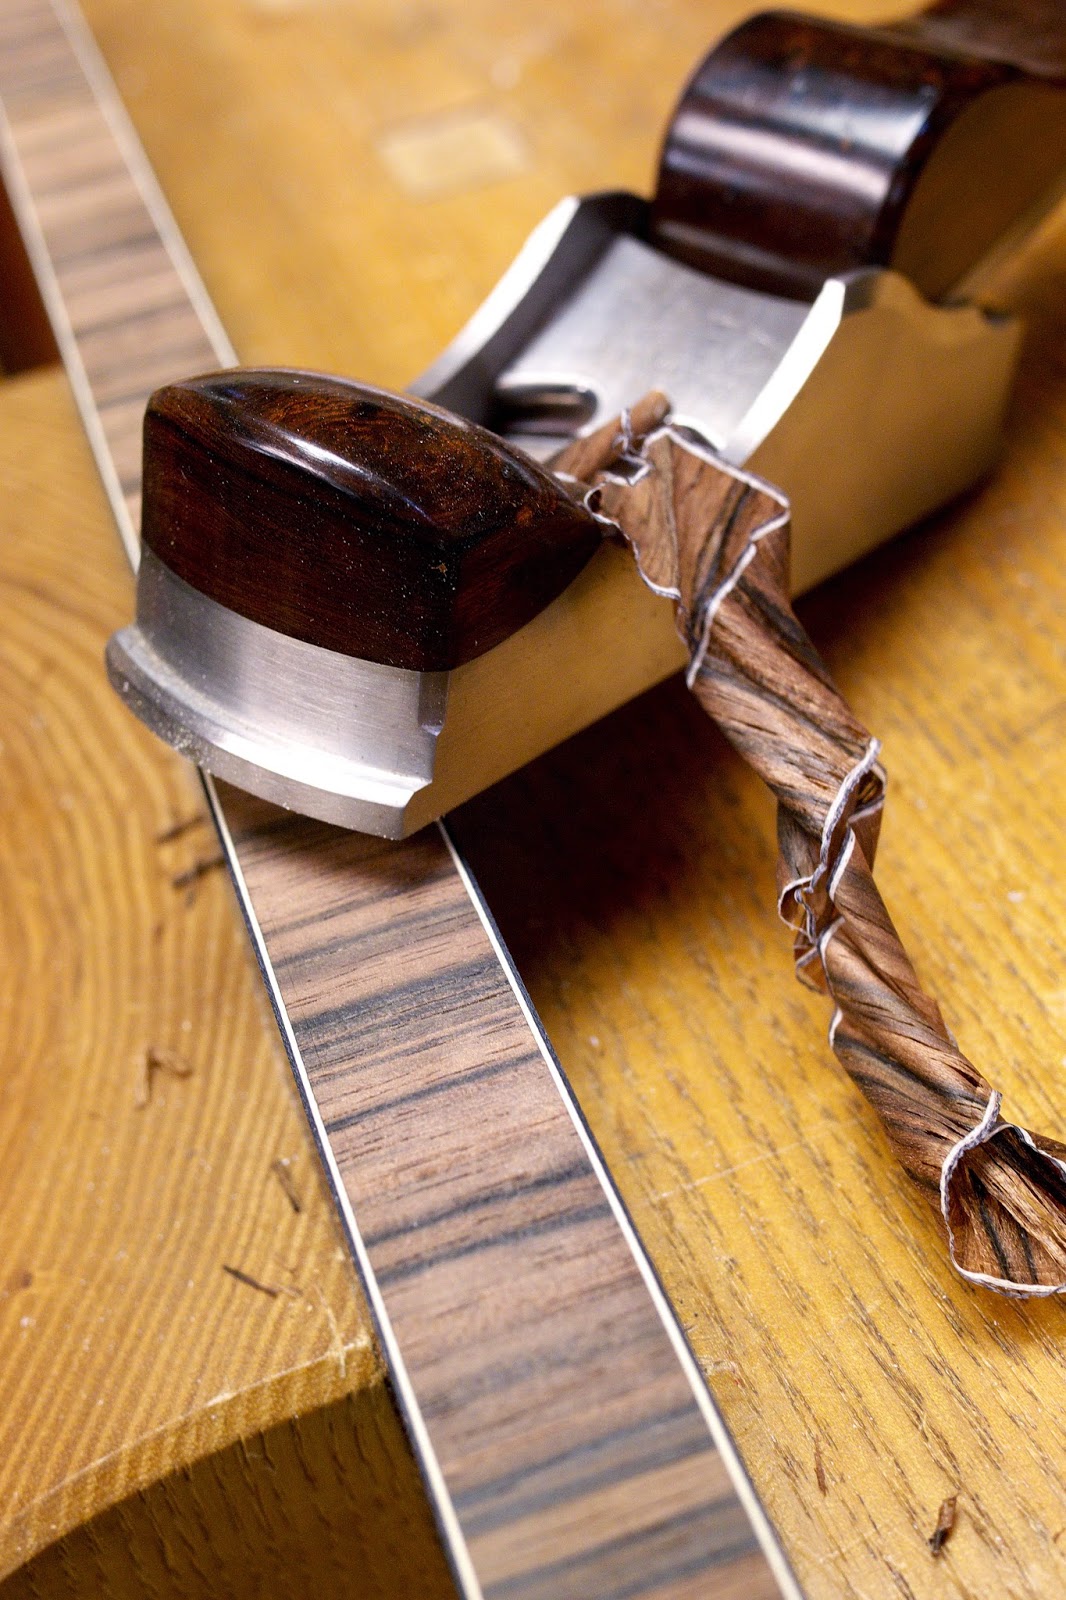
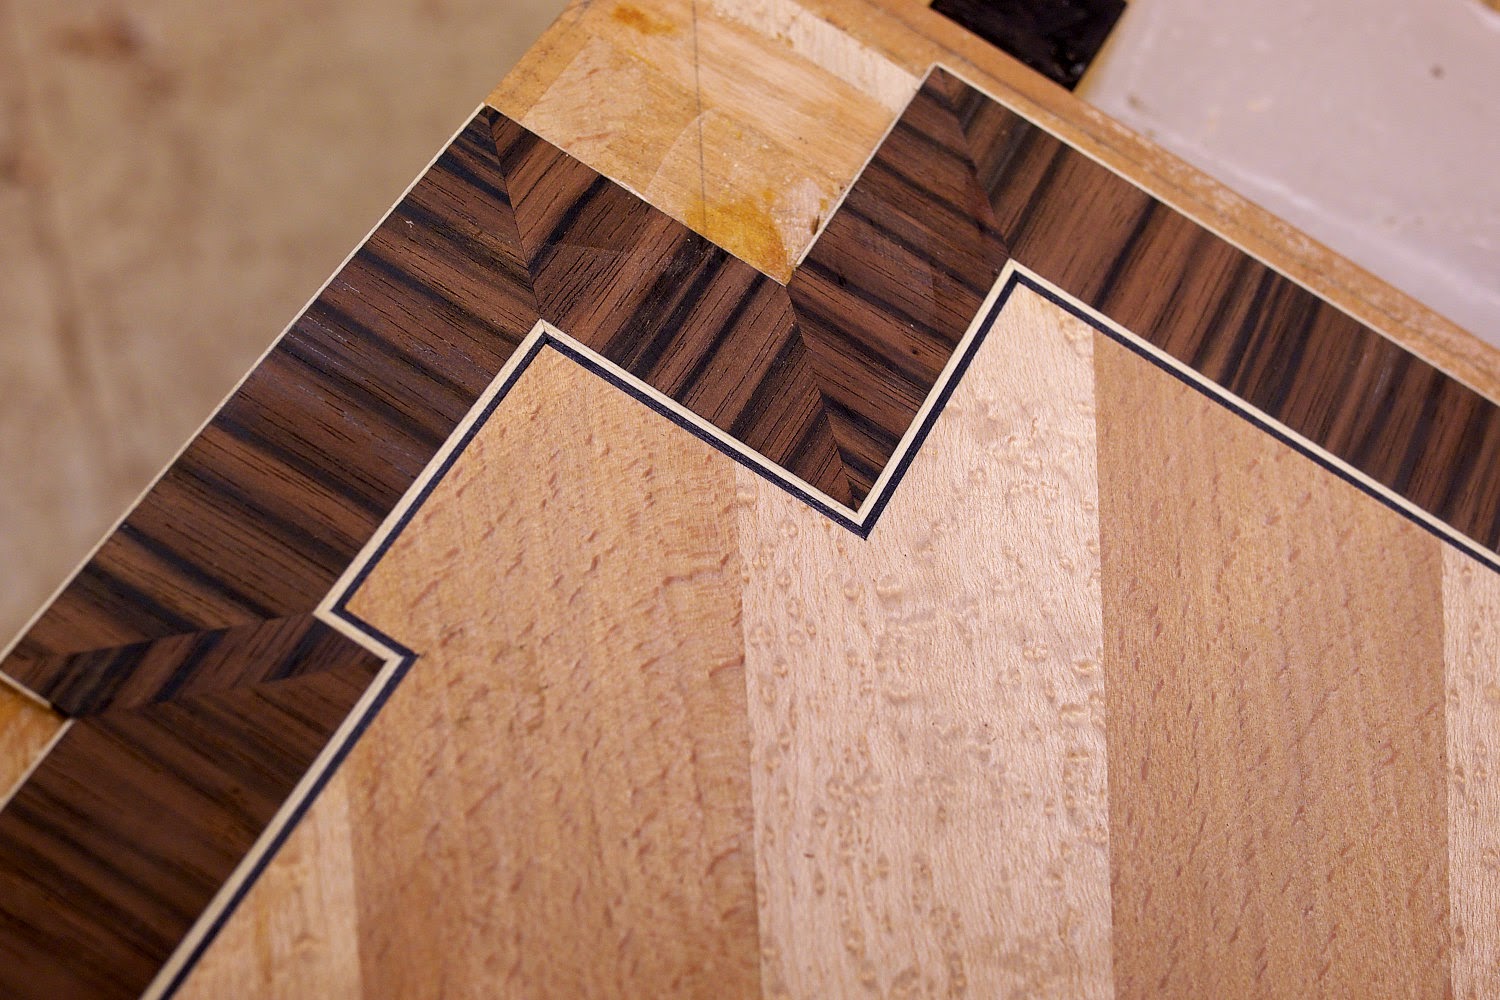
Here's one thing luthiery did for me. It taught me why tack sharp is the deciding factor in doing exacting work in all woods, and how less than tack sharp doesn't just mean tearout, but likely complete destruction of your work. A rough spot on a table top is child's play compared to tearout in a piece that's only 1/32" thick to begin with. You don't scrape that out. You scrap it out.


But this isn't about sharpening. It's more about the workmanship of risk. Do you build things for completely practical purposes? Or do you build for that intangible sense of creative satisfaction? If more the latter than the former, you should try upping the ante in your work. I don't build like this all the time. It's too much for me. But every now and then I return to this type of work to fertilize the rest of my woodworking. Taking on an intense project has lots of carryover. It will feed simpler work, sometimes for years. It simultaneously drives me mad while depositing loads into the satisfaction bank.

Now, as long as the bank doesn't burn down before I can make my withdrawal.