BLOG

Saturday, May 31, 2014

Greg's Chairmaker's Bench


Professional chair maker and teacher Greg Pennington has finished a chair maker's bench using our Classic Leg Vise. It's beautiful. Take a look at Greg's blog for more.

"The Benchcrafted vise works just as sweet as the video you see on their website."

Friday, May 30, 2014

Northfield #2 Surfacer


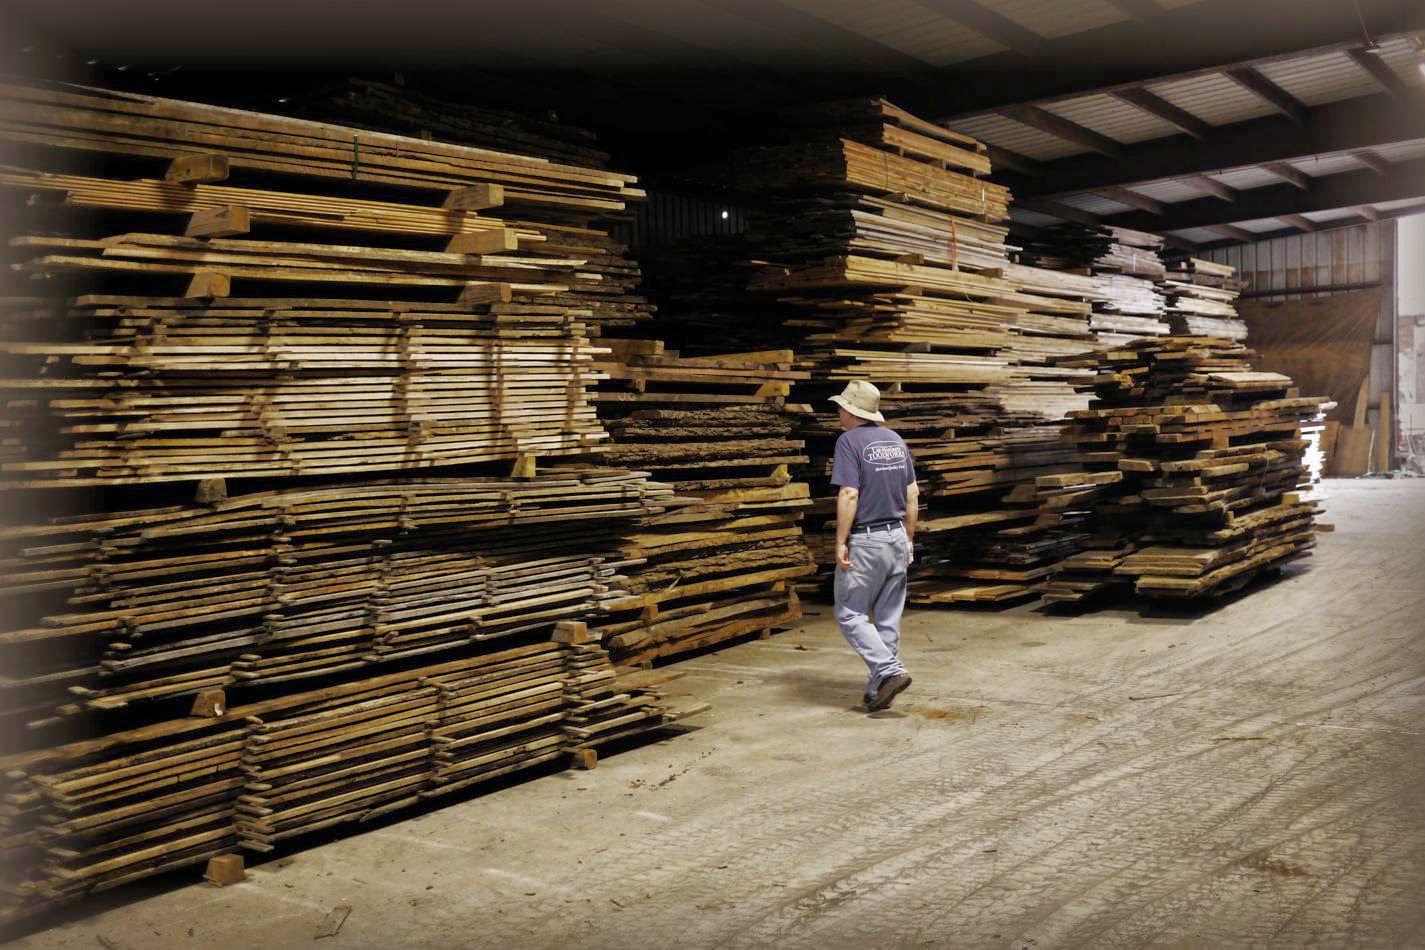
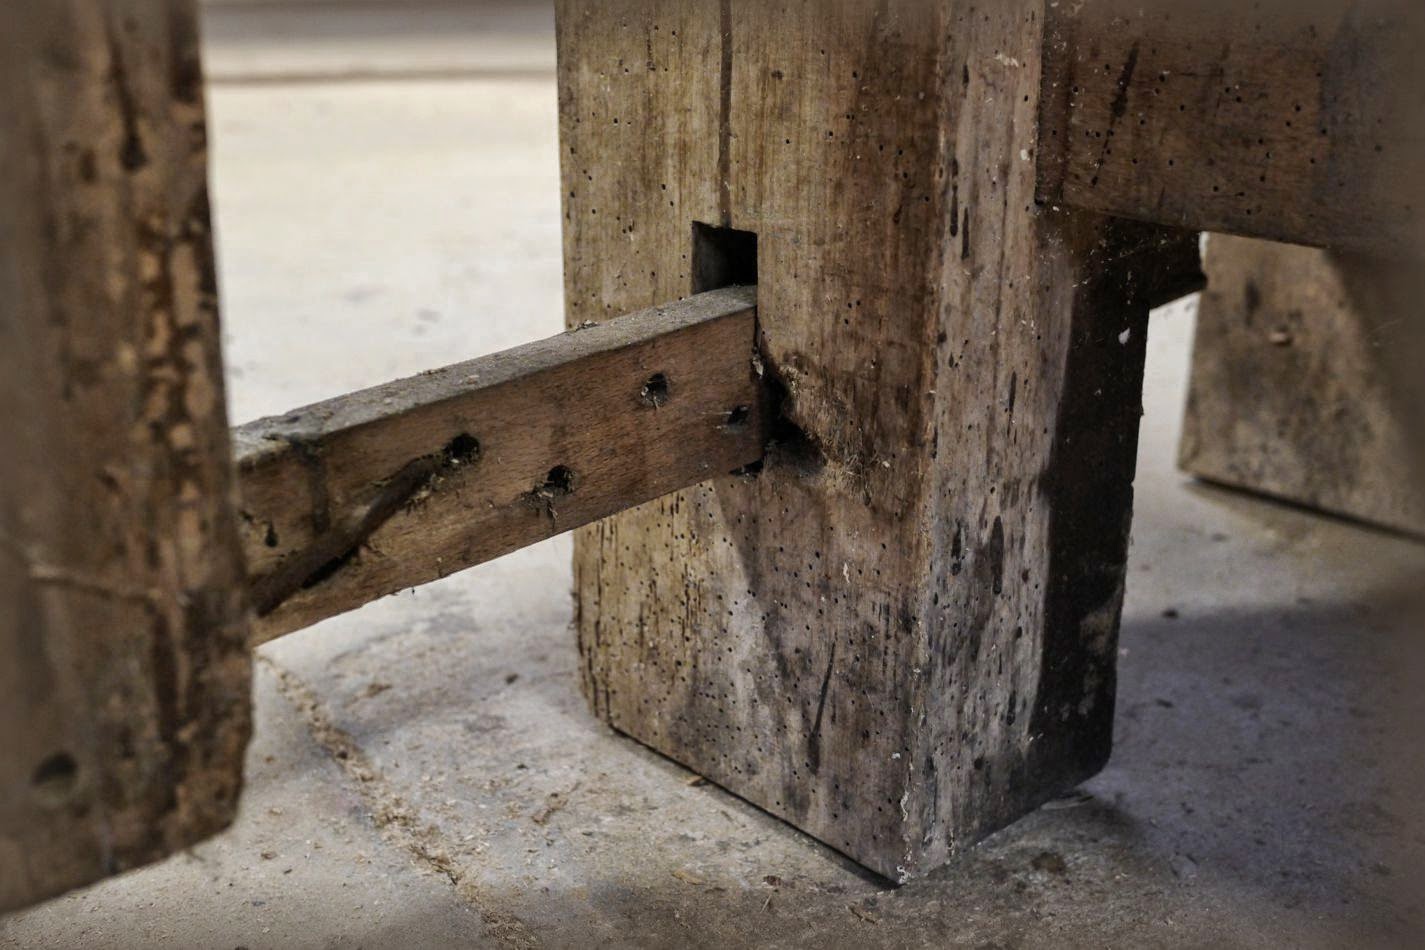
The woodworking machinery room at McKinley Junior High was full of dull-green, heavy iron equipment, but what I remember most was the enormous planer. It must have stood what seemed to me, six feet tall, with its own coal-fired powerplant stoked by tiny, but robust men wearing nothing but loincloths, soaked in sweat and marinating in black grime. When Mr. Dickey fired it up I saw the dwarven men grasp the giant handles of the gear cogs and turn the works, first very slowly to overcome the inertia of the massive iron, then gradually increase until the beast was ready to consume. The floor shook, my chest quaked, and I wondered how many bad students the machine had eaten in the last 50 years. And when the board my father had sent me to school with that morning emerged smooth from the opposite side, I couldn't wait to see the machine run again.


Over the past month I've been working on my own green beast of a planer. A Northfield #2 single surfacer. This machine came out of the same high school vocational education program as the 12" Northfield Medium jointer that I restored a few years ago. That was a gem of a machine, and I miss using it. But it went to a good home. A group of friends helped move that machine into Chris Schwarz's Lost Art Press shop. It's almost as satisfying knowing Chris is using it as myself. Almost.


I was planning to sell this machine as-is, but I just couldn't resist taking it to a finer level. I have a soft spot for these machines, and the nostalgia and satisfaction that comes from a solid restoration.

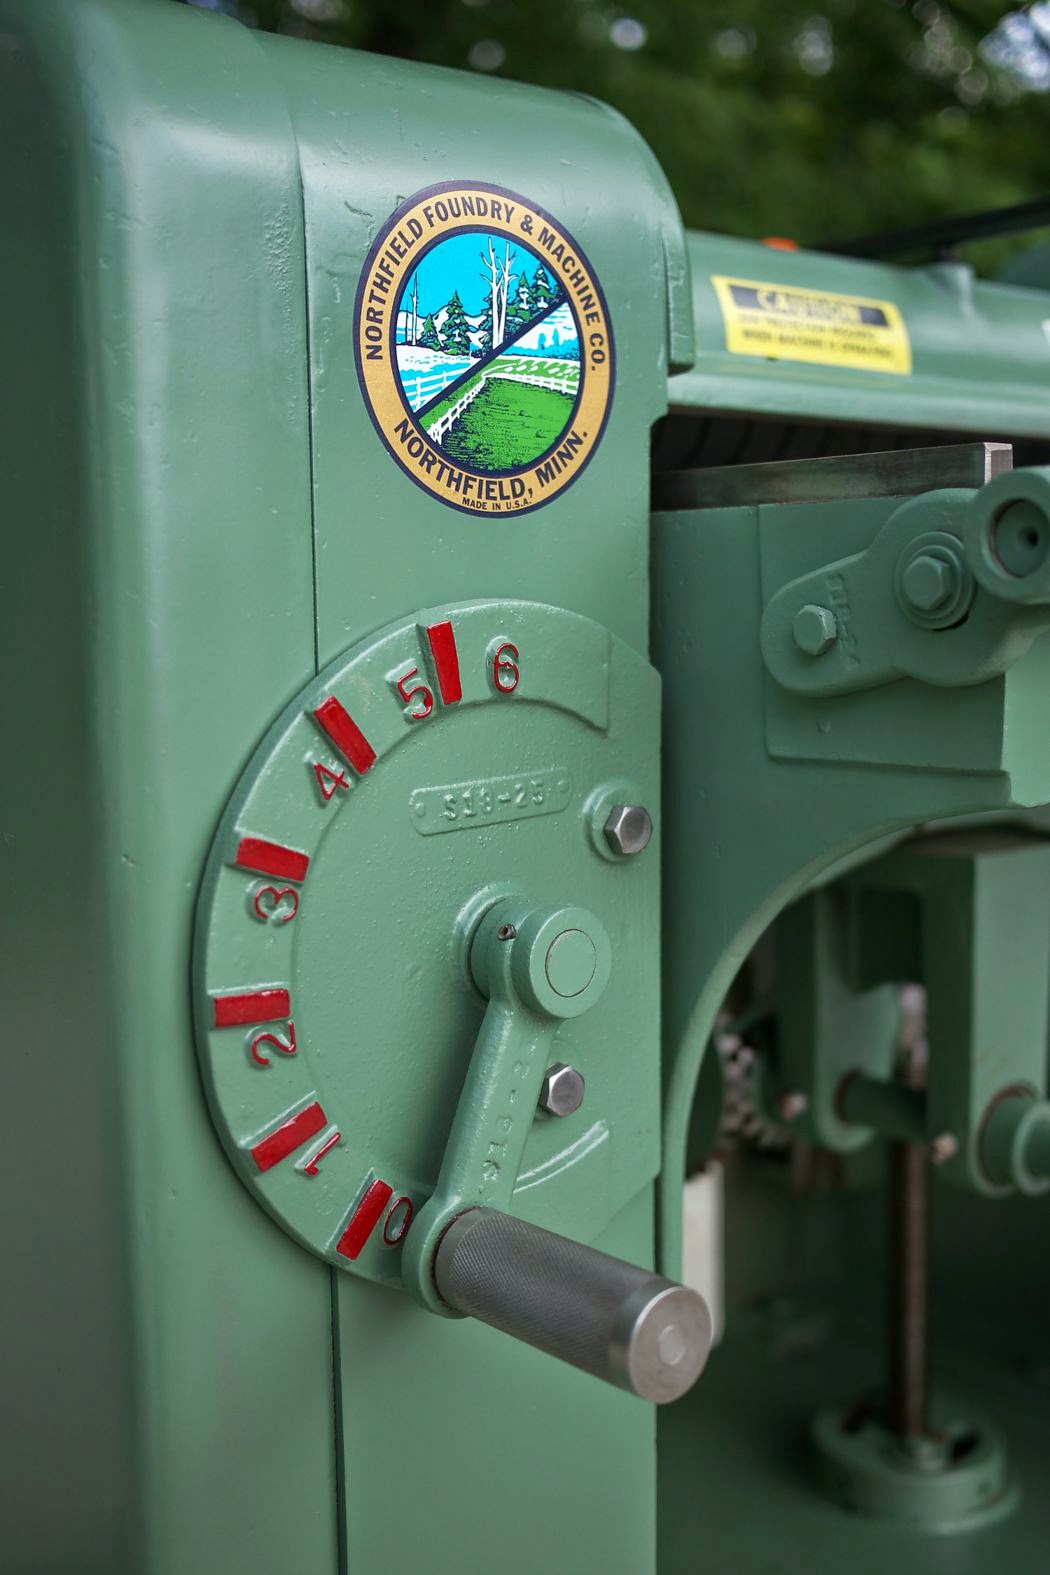
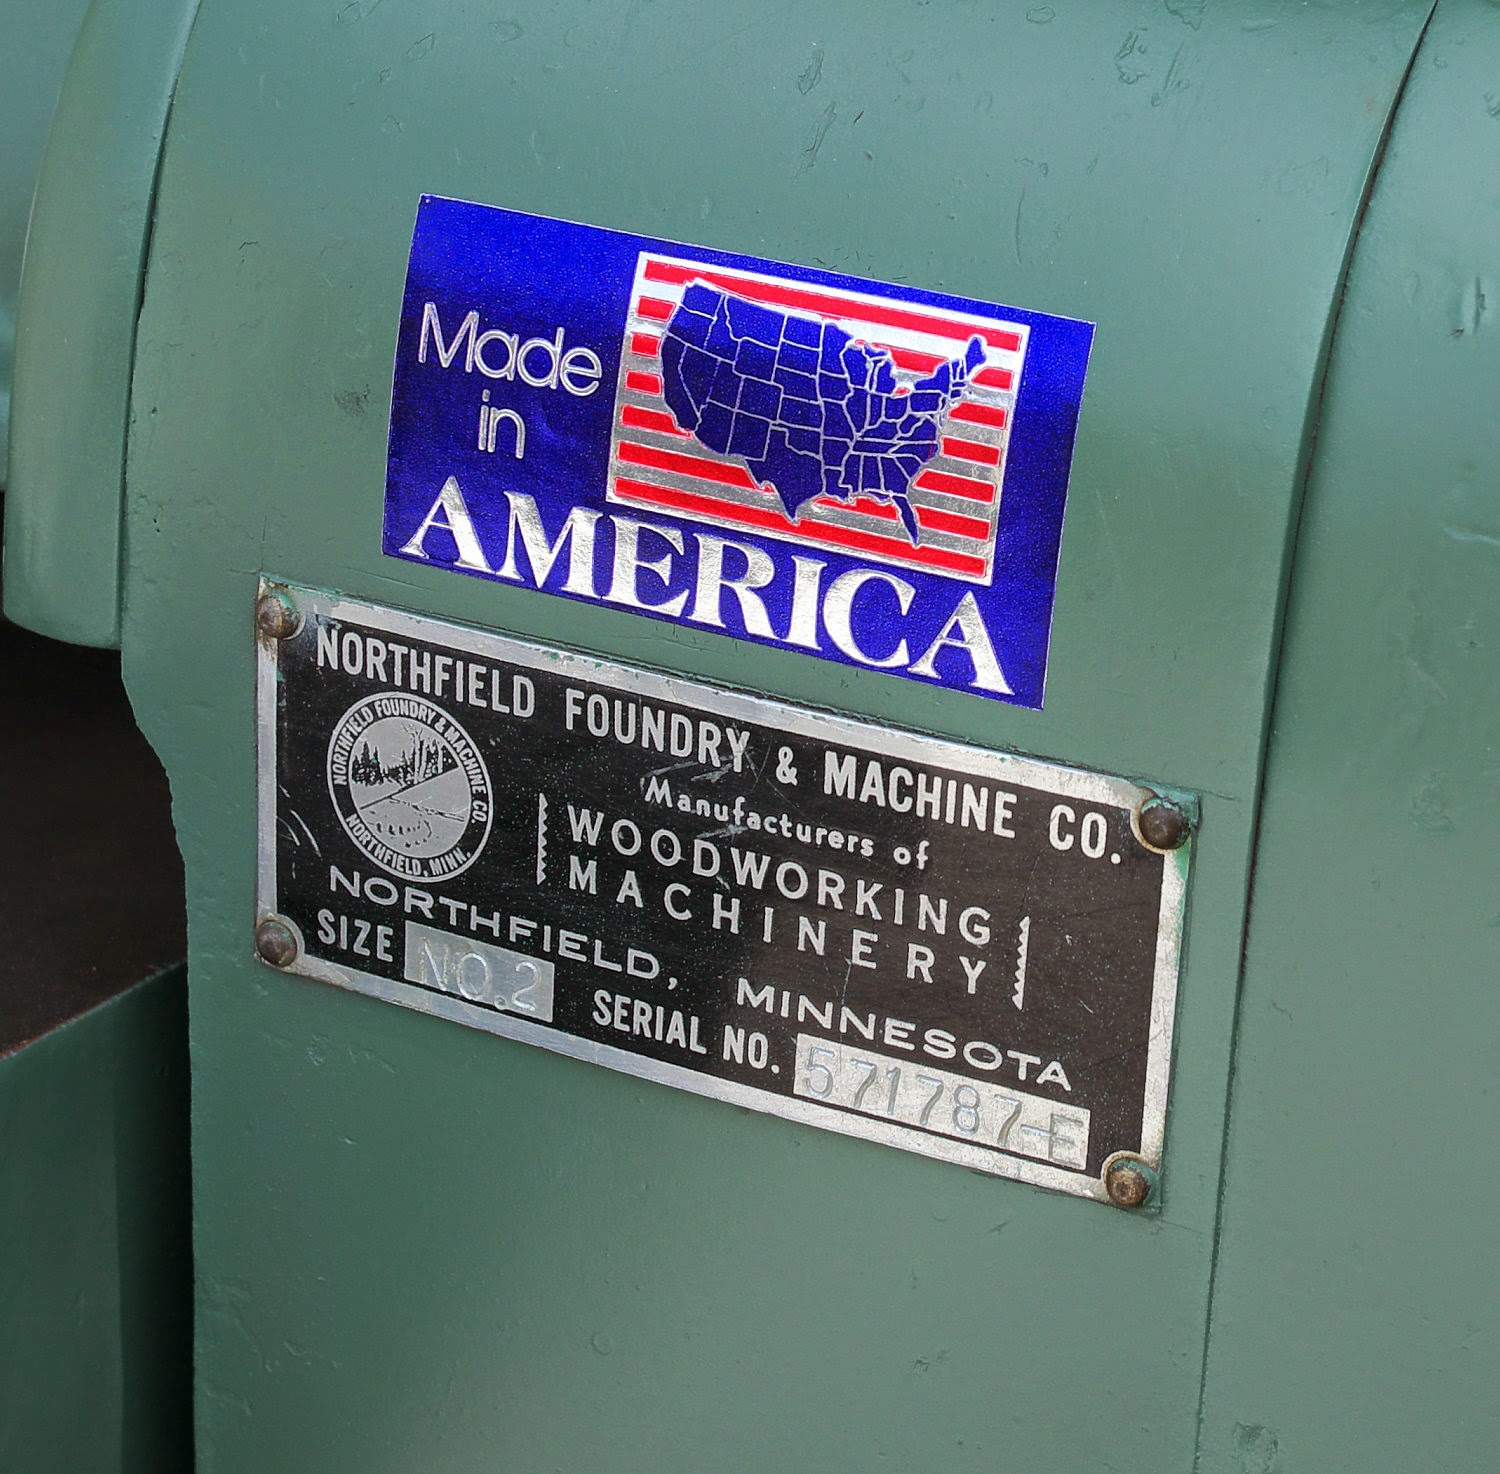
When I picked up this machine from the high school in Minneapolis where it was originally purchased I drove through Northfield, Minnesota (the home of Northfield Machinery) on my way back home. I asked Jeff Machacek to take a look at the machines. Jeff is the brains behind Northfield, and knows every nut and bolt on every machine the company has produced since the early part of the 20th century. He grew up in the plant, watching workers pour foundations down to solid bedrock for some of the heavier machine tools at Northfield.


I asked Jeff to take a look at this planer since it has the optional (and more expensive) segmented rubber infeed roller (a big plus for taking light final passes.) I wasn't sure how much wear was acceptable, but Jeff gave it the okay. He also gave the thumbs up to the cutterhead bearings. So I didn't replace those parts. It's not everyday you get to have Jeff inspect your machine, in person, for free. It's just the kind of guy Jeff is. I've bought a few parts from Northfield over the years, and Jeff does his best to talk me out of buying most parts. So when I can, I support Northfield, even though many of their parts are quite expensive. I think it means a lot to them to see folks bringing old machines back to life. Really, these machines are built to last many generations. With proper use and lubrication, this planer could still be cutting wood well into the next century and beyond.


To get the machine to the state its in now, here's what I did:

- Disassembly of the multi-gear drive mechanism, motor and variable speed mechanism, thorough cleaning, degrease, re-lube and re-grease.
 - Fabricated a new design chipbreaker of steel. This 1957 machine had the old design made of brass with segmented spring steel tabs, and some were worn beyond repair. Jeff said that was not the greatest design, so I made a new one based on Northfield's current #2 chipbreaker.
- Disassembled the direct-drive motor, cleaned the rotor and stator, remove dust from windings.
- Cleaned, polished and stoned the beds, outfeed roller and bed rollers to remove any burrs.
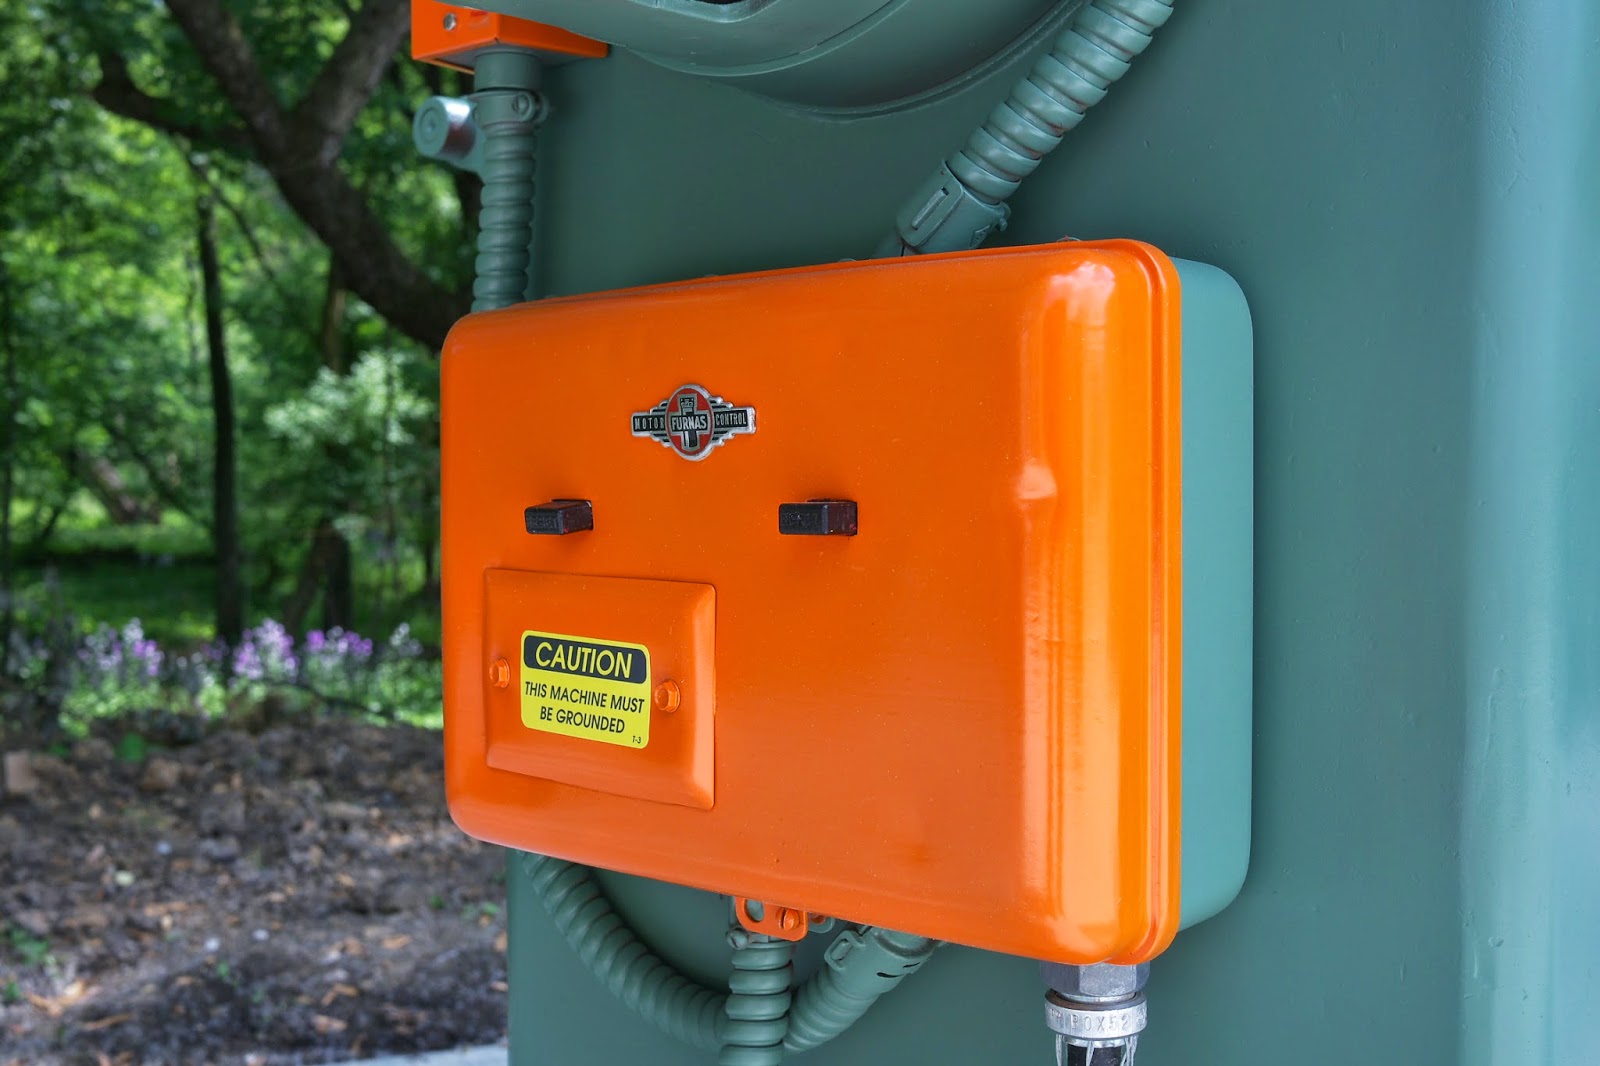
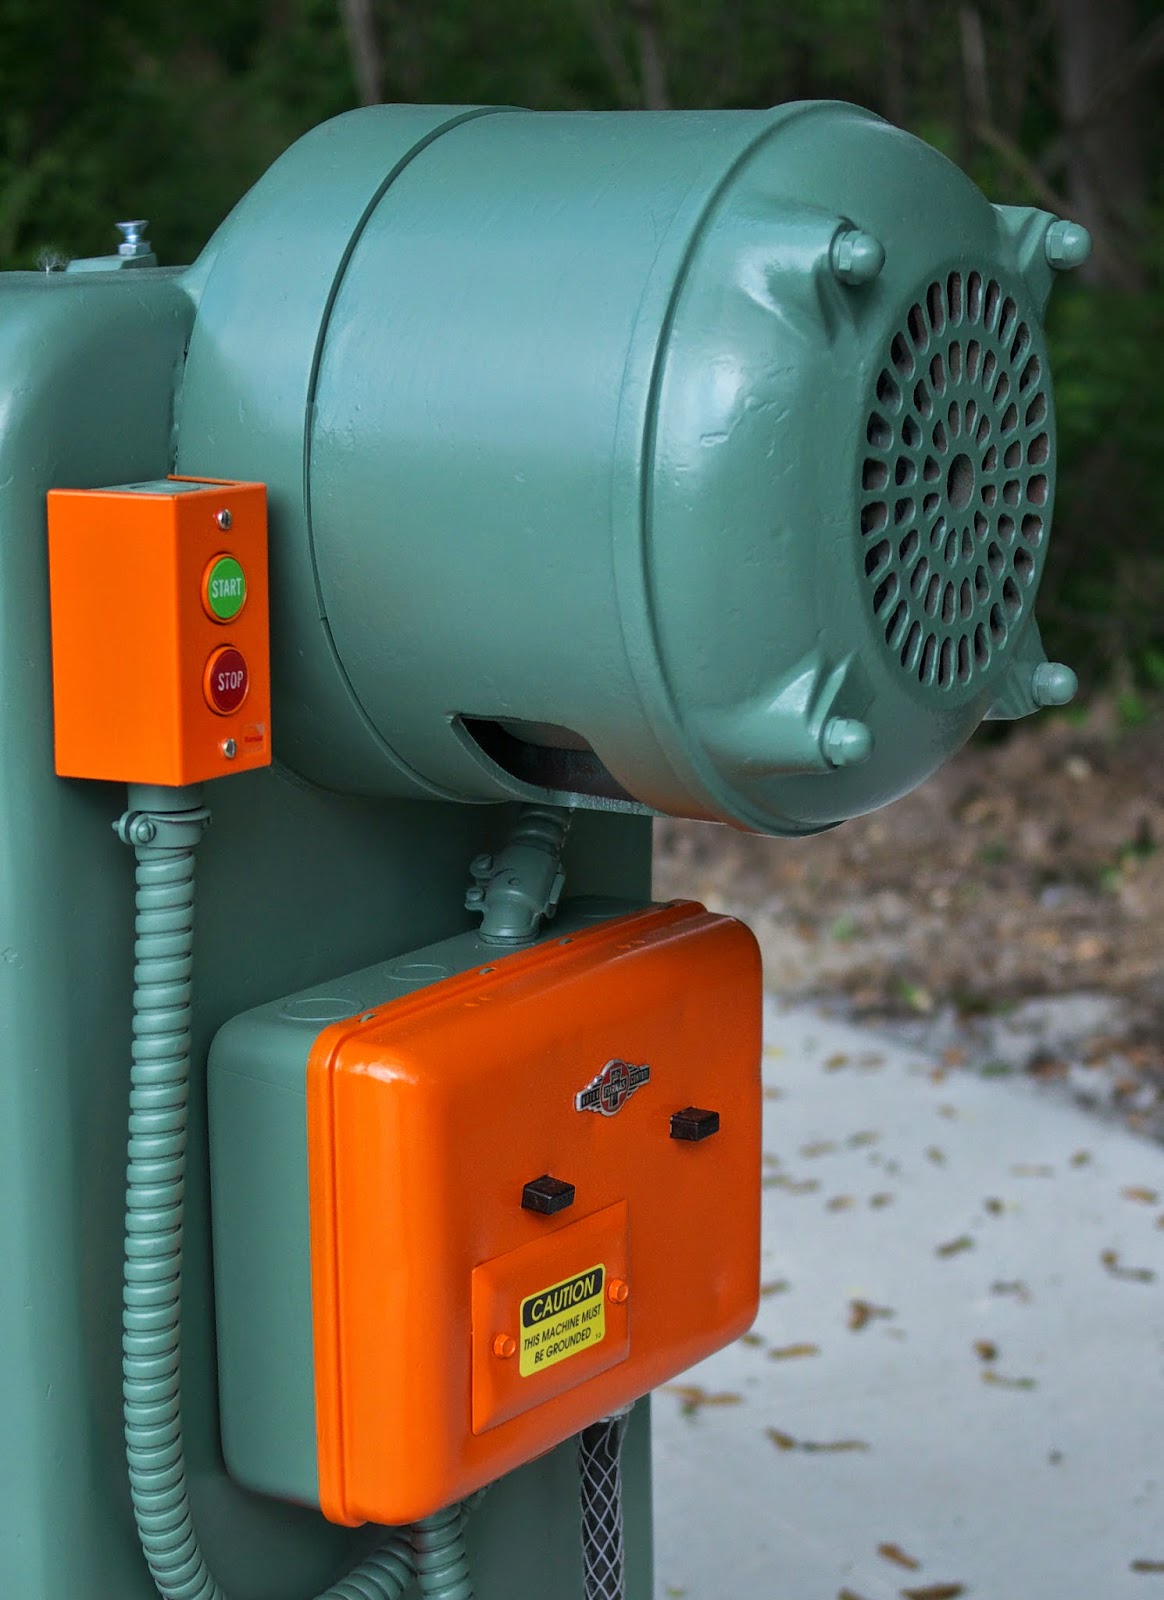
- Disassembled the starter, cleaned and polished the contactor points.
- Wired up a new Furnas Nema 1 start/stop station. (The planer came from the school with one those enormous stop-sign-style floor-mounted control stations. I wasn't going to have any of that.)
- Complete removal, cleaning, and restoration of the bed height adjustment mechanism.
- Cleaned and lubed bed raising screws.
- Relube of all ways and new grease added to zerk points.
- Degrease, clean, lacquer wipe down, spot prime and top coat all painted components.
- Adjusted bed parallel  to cutterhead within .001"
- Installed a new set of knives.
- Adjusted all feed and cutterhead components to factory standards.
- Reapplication of safety stickers provided by Northfield.
- Installed two new Northfield badges
- New owner's manual from Northfield.
- Northfield shavings hood with 6" connection

Machine Specs:

- Nom. Capacity: 18" x 8"
- Three-knife cutterhead with high speed steel knives from Wisconsin Knife Works
- Minimum stock thickness 1/8"
- Max stock thickness: 8"
- Direct drive cutterhead (no belts involved). Motor specs: 5hp, 3Phase, 220/440V, 60 Hz.
- Feed motor (separate motor powers the feed rollers) 1/2 hp, variable speed, 20 to 50 lineal feet per minute
- Furnas Magnetic controls, push button start/stop station
- Floor space: 55" x 36"
- Weight: 1600 lbs.

I should say that I'm not in the machinery restoration business. This is a superfluous machine in my shop at the moment. I simply restored this one so I could offer it with a clear conscience. Who ever liked being on the buying side of an "as-is" deal? I've been there with nearly every machine I purchased. If I can eliminate that aspect with this one, all the better. I've restored a few machines over the years, and I can say that I'd be thrilled to have this machine in my shop. If you're pricing out similar machines, you likely won't find them. You can buy a slightly larger planer from ursus horribilis, pay more, contribute to the decline of American woodworking, and still wonder where the extra 600 pounds went. Mentioning the price of a new Northfield would just be silly, but if that interests you, take a peek. One thing you'll find is that Northfield hasn't changed this machine in decades. There's a reason for that. Simple machines that are finely adjustable, and hold their settings. I don't like to fuss with my machines, and so far every Northfield I've set up has been dead on ever since. Nothing interrupts my workflow in the shop like having to fix or adjust a finicky machine.

I should add that Byrd tool has made Shelix heads for these machines. They are not cheap. However, given the price of a comparable (Asian) machine, the price is quite reasonable.

Also, if you're afraid of 3-phase power, don't be. It's quite easily attainable. I can help. 
 
Price is $3200. If you're interested in the planer, drop me a line at jameel@benchcrafted.com
Update: SOLD


Monday, May 19, 2014

Hunting Massive French Oak


Last week I traveled to the deep south in search of more massive boules of French Oak for Roubo-style workbenches.

What I found was a jaw-dropping.

When we did the groundwork for the French Oak Roubo Project over three years ago, the likelihood of finding more massive slabs was pretty slim. Finding slabs of this size is extremely rare nowadays, let alone finding sawyers in continental Europe who saw the logs into such economically risky dimensions. You have to find the right buyer for 35" wide, 6" thick, 20' long slabs of any wood.That person is Wyatt Childs.


In the past three years, since we discovered the slabs that became the FORP benches of 2013, Childs has made numerous trips to France to hunt down more of this elusive material. And late last year he stumbled(!) on some, loaded them into a shipping container, and sent them west to rural Georgia.

Right now we're crunching numbers on just how much of this stuff we have at our disposal. Is there enough for another FORP? We're not sure at this point, but it's looking good. We still need to make a trip or two back to France. We're still at the preliminary stages of this, so that's all we know for now. More when it develops.


While visiting Childs' millwork and furniture shop, I got a chance to catch up with his team of joiners, who've been using his 16' long Plate 11-style bench for the past 10 months. Has it been simply shop jewelry or a catch-all? Nope. Traci, Chris, and Adam use the heck out of it. Every day.


Traci reports that the 1200 pound partner's bench is usually out in the middle of the shop so the workers can get to both sides easily. But this week it was pushed to the side to make room for a large dining table they are finishing up.


Childs specializes in box beams of oak, and being long things, the joiners use the Plate 11 bench to work these parts. Using axe, scrapers and angle grinder with a wire brush, the oak is transformed into parts that look rough-hewn and aged. It's a look that Childs has perfected. And one that can only be accomplished with hand work. The Roubo bench has become a favorite at Child's.

Has Childs' bench moved in the past 10 months? Of course. The top has been flattened once, and it needs it again. But its settling down. The leg joints have opened up, and at least one has been filled with oak wedges. I cut most of the joints in this bench, the wood was wet. That's impossible to avoid in wood of this dimension (see here for more.) But the reality is, the bench is still in one piece and completely functional. Have the leg vises seized up or become loose? Nope. The leg vises are awesome, actually a bit sweeter than when we had them installed last year. In the next year or so this bench is going to settle in nicely and then move very little in its climate-controlled environment.


The other bit of fun we had at Childs' was poring over a French bench that came out of the La Forge Royale factory in Paris. Bo brought this bench over last year and installed it in his shop in Barnesville.

I've got my hands on a couple products from Feron and Company, but this one takes the cake. I first saw this bench on French Ebay, then later when I brought it to Childs' attention, he sent one of his buyer's to the owner to snatch it up. Last week I got to take a close look at the bench and see just how this factory put this bench together.


The top is 18" wide, more or less. Only one leg is flush with the top's edge (right rear, the one next to Ron's leg in the above pic) and the base itself was 7/8" narrower on the leg vise end. None of rails are flush with the legs. The end cap is nailed on. No tail vise on this bench (although Feron & Co. offered several benches with them.)


The rails were joined to the legs with a single faced, full width tenon. I didn't see any evidence of pegs in the joint, especially given the open shoulder.


What was particularly satisfying to discover was the top attachment method. This protuberance has show up in many engravings and catalog images, but until now, we didn't know for sure what it was. As speculated, its a threaded handle for locking the top to the upper rails.


Note in particular the joinery of the upper rail where it joins to the inside of the legs. There's a double tenon where the outer tenon laps onto the side of the leg, and is beveled to a knife edge at the end grain. The inner tenon engages a mortise in the leg and is cut short to keep the top of the leg from blowing out. The shoulders are overcut, perhaps to let the top move. The gap between the rail and top was not huge, maybe just an 1/8" or so. This offset rail is to allow the leg vise screw to pass by the threaded handle. The rail on the opposite end of the bench is more centered on the legs.


If you've ever wondered how strong a leg vise is, wonder no more. A heavy nail was being used as a parallel guide pin, and someone closed the vise to the point where the nail was folded around the guide. Feron manufactured St. Peter's Crosses, so this bench must have been a lower priced model. We couldn't find this exact bench model in the La Forge Royale Catalog.


The leg vise hardware was very similar to our Classic Leg Vise, save for a split, square garter that pulled the chop out when opening the vise. This is less common than other arrangements.


The shelf was nailed from the bottom into a rabbet in the rails.


While the bench was on its back I found a signature: "Monsieur Perrot et Compagnie "


To see the whole La Forge Royale Workbench set, click here.

While in Georgia I also spent some time helping a friend work on his FORP bench, using decidedly less than massive slabs. But I'll let him tell you about that.


Friday, May 2, 2014

Assembling the Classic Leg Vise


Now that we're shipping Classic Leg Vises we thought we'd post this video on how to assemble them. The process is also described in the instructions, available on our downloads page.

Sometimes we get emails about why our products require assembly. It's not laziness (well, not entirely!) but rather efficiency. We can store and ship the packaged vises in a much smaller space and more efficiently than assembled ones. This is especially true with the Glide. An 8" diameter handwheel with an 18" long shaft takes up huge amounts of space, not to mention its quite difficult to pack and ship safely, and inexpensively. There are huge amounts of void fill with an assembled Glide. It's not pretty.

We also like to use stock box sizes when packaging our products. They are readily available, inexpensive, and there are no die or printing costs. We can also change our packaging on the fly if need be.

The Classic only takes about 90 seconds to assemble.